The cabinet under your kitchen sink is probably the most-wasted square footage in your entire home. It is awkwardly shaped, dark, occupied by plumbing in the middle, and chronically full of cleaning supplies that have crowded out anything else you might use it for. Most under-sink cabinets store about a third of what they could.
The good news is that this is one of the easier organizing wins to claim. A reasonable amount of stackable storage, some thoughtful zoning, and a few decisions about what should and should not live under the sink can triple your usable space in an afternoon.
Why Under-Sink Spaces Are So Hard
Three things make these cabinets uniquely difficult. First, the pipes and garbage disposal eat the most valuable middle section, leaving two narrow side compartments. Second, the cabinet is deep enough that anything in the back disappears from memory the moment you close the door. Third, the contents are usually wet, smelly, or potentially toxic, which makes most people avoid spending time organizing it.
All three are solvable. The shape problem is solved with stackable storage. The depth problem is solved with pull-out drawers. The wet-and-smelly problem is solved by smart zoning and keeping everything in containers with lids or contained surfaces.
Step One: Empty Everything
Take it all out. Yes, every bottle. Lay it on a tarp or a folded towel on the floor. You will be surprised how much is actually in there. Most under-sink cabinets contain 30 to 60 individual products that no one has audited in years.
Step Two: The Three-Pile Sort
Sort everything into three piles:
- Keep — products you use at least monthly
- Toss — empty bottles, expired products, anything you cannot remember why you bought
- Move elsewhere — products that have a better home (windex in the bathroom, etc.)
Most people end up with a keep pile of 15 to 20 items, which fits comfortably in the cabinet with breathing room. Compare that to the 50-product chaos you started with, and you can see why the cabinet always felt overstuffed.
Step Three: Line the Bottom
Spread a piece of contact paper or a thin plastic mat on the bottom of the cabinet. This protects the wood from leaks (which will happen — every cleaning product leaks eventually) and makes future cleaning a 30-second wipe instead of a full sanding project.
Step Four: Install Pull-Out Drawers
This is the single most consequential upgrade. Two stackable pull-out drawer bins on either side of the plumbing transform a dark, deep cabinet into a usable one. Pull-out wire bins (the kind made for under-sink use) cost 15 to 30 dollars apiece and install with screws into the cabinet floor in 15 minutes. No-drill versions sit loose but require less effort.
Each drawer slides forward to reveal its full contents, eliminating the dark-back-of-the-cabinet problem permanently.
Step Five: Define Two Zones
Under-sink cabinets work best with two clearly defined zones, one on each side of the plumbing.
Zone One (left side): Daily cleaning supplies. All-purpose spray, dish soap backstock, sponges, the small box of microfiber cloths. This is the zone you reach into multiple times a day.
Zone Two (right side): Less frequent supplies. Specialty cleaners (oven cleaner, stainless steel polish), trash bag backstock, the extra roll of paper towels. The zone you reach into once a week.
If you have a third drawer up top (the false-front drawer above the cabinet that does not pull out), use it for tiny items like sponges, scrub brushes, and rubber gloves.
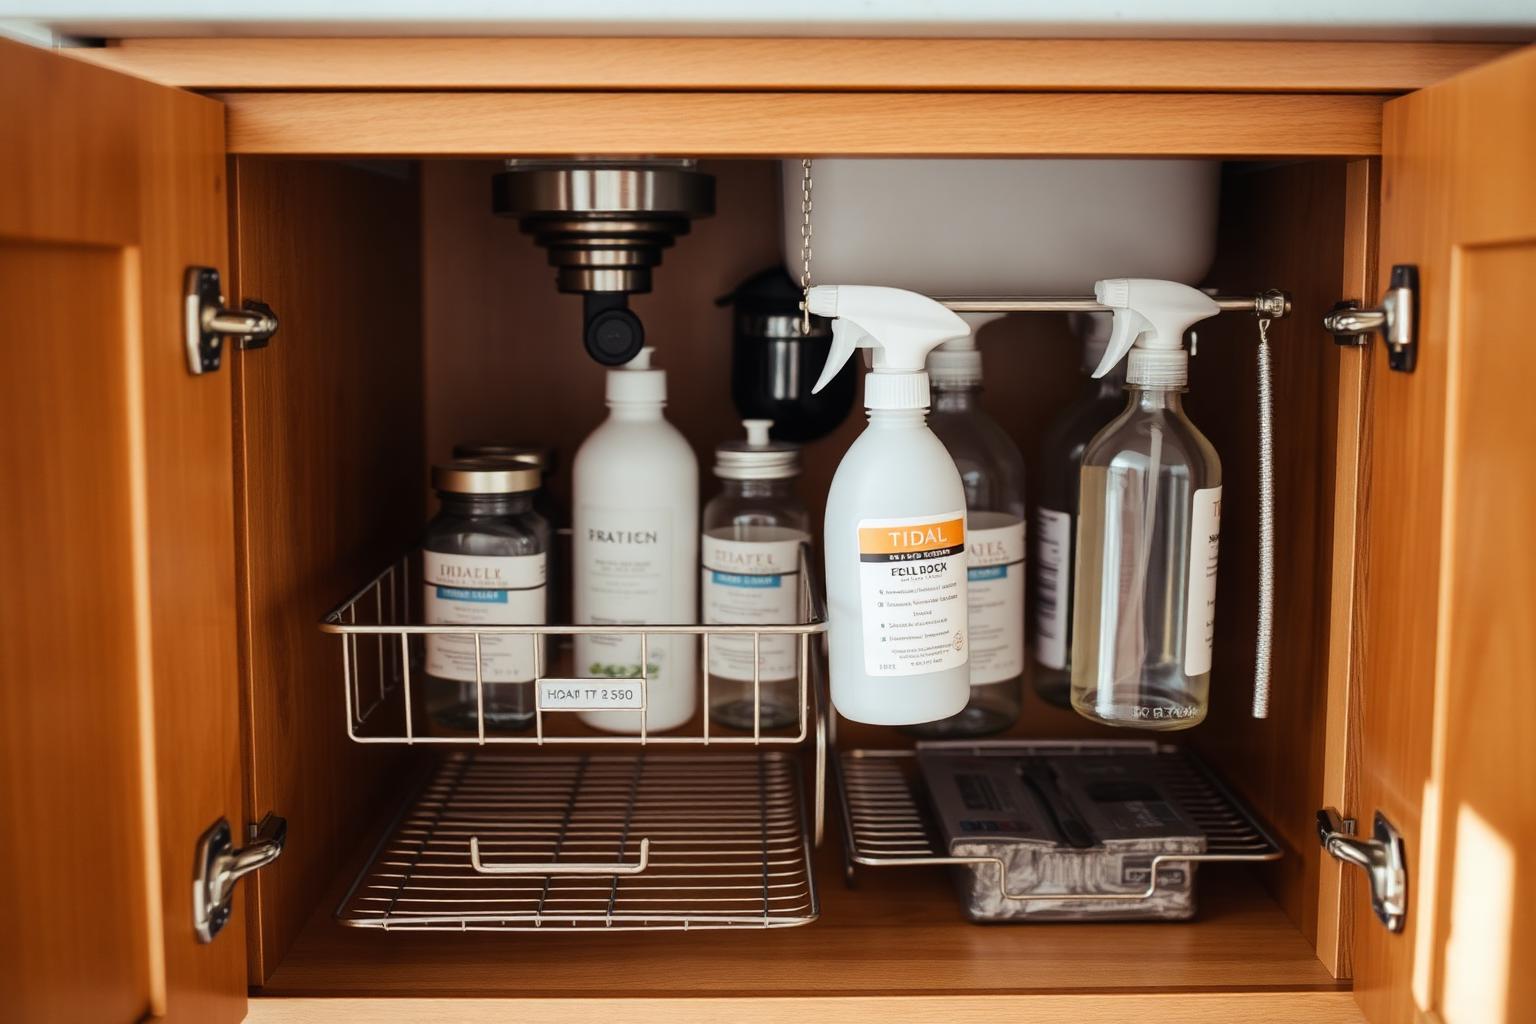
Step Six: The Tension Rod
A simple tension rod installed horizontally inside the cabinet at the back creates an instant hanging rail for spray bottles. The bottles hang by their trigger, taking up zero floor space. This single 5-dollar trick frees up the entire bottom shelf for other things.
What Doesn't Belong Under the Kitchen Sink
Some things accumulate there and should not. Move them out and the cabinet works better.
- Food items (way too humid)
- Paper bags or stacks of takeout menus (fire risk near the disposal)
- Anything edible
- Pet food (humidity ruins it, attracts pests)
- Anything you genuinely value and would not want damaged in a leak
Move those to a pantry, cabinet, or drawer better suited to them. The under-sink cabinet should hold only items that are okay getting briefly wet.
The Trash Can Question
Many kitchens have the trash can inside the under-sink cabinet, which works but limits the storage of everything else. If you have the floor space for a stand-alone trash can elsewhere in the kitchen, moving the trash out unlocks 50 percent more storage. If not, get a slim cabinet trash can that fits cleanly in one of the zones, and treat the other zone as your storage area.
The cabinet under the sink is not small. It is just chronically disorganized. The cubic feet are there if you claim them.
Bathroom Under-Sink Spaces
The same principles apply to bathroom under-sink storage with two adjustments. The zones are different (zone one: daily hair and personal care; zone two: bathroom cleaning supplies and backstock). And the items are usually smaller, so use a few small bins or trays to subdivide the pull-out drawers further. Otherwise the same upgrades — pull-out drawers, tension rod, contact paper liner — apply.
A Note on Childproofing
If small children live in or visit the home, every under-sink cabinet should have a childproof latch. Cleaning products are the most common cause of accidental household poisoning in young kids. The latches cost about five dollars apiece and install in two minutes. Do not skip this step in a kitchen or bathroom that small hands can reach.
The Refill Tip
Many cleaning supplies come in unnecessarily large bottles. Buying the concentrated refill version (instead of a new ready-to-use bottle each time) saves money, takes less storage space, and reduces plastic waste. Refill your small spray bottles from a larger bulk container kept in a less prime storage location (like the laundry room or basement).
Maintenance
Every six months, pull everything out and wipe the bottom of the cabinet. Check for leaks (the early signs are a small ring of moisture or a faint smell of mildew). Toss anything expired. Five minutes, twice a year, prevents the cabinet from sliding back into chaos and catches any plumbing issues while they are still small.
Final Thoughts
Under-sink cabinets are the easy organizing win nobody runs at. An afternoon, 50 dollars of stackable storage, and an honest sort transforms the most wasted cubic feet in the house into one of the most useful ones. The change is invisible from the outside but quietly excellent every time you open the door. Few projects pay back this well in this little time.
Filed in Organizing · Small Spaces
More articles