If you've ever stood in the cleaning aisle of a grocery store, you've probably felt the same thing I do: overwhelmed. There are dozens of bottles promising to cut grease, kill germs, leave streak-free shine, and make your kitchen smell like a lavender field. Most of them contain ingredients you can't pronounce, cost more than they should, and end up half-used under the sink.
After years of buying and testing nearly every cleaner on the market, I finally made my own. The recipe below uses four ingredients you almost certainly already have, costs less than a dollar to make, and works on countertops, appliances, sinks, tile, sealed wood, and glass. I have not bought a bottle of all-purpose spray in over two years.
Why Switch to a DIY Cleaner?
There are three good reasons to make your own all-purpose cleaner: cost, safety, and effectiveness. A 32-ounce bottle of name-brand spray runs about $5 to $8. The DIY version below costs roughly 40 cents per bottle once you own the base ingredients. Over a year of regular cleaning, that adds up to real money.
Safety matters even more. Many conventional cleaners contain quaternary ammonium compounds, synthetic fragrances, and surfactants that have been linked to respiratory irritation and skin sensitivity. If you have kids, pets, or anyone in the house with asthma, switching to a vinegar-based cleaner makes a noticeable difference within a few weeks.
And finally, it just works. Vinegar dissolves mineral deposits, cuts grease, and kills many common household bacteria. Paired with a small amount of dish soap and essential oils, it handles 90% of everyday cleaning tasks.
The Recipe
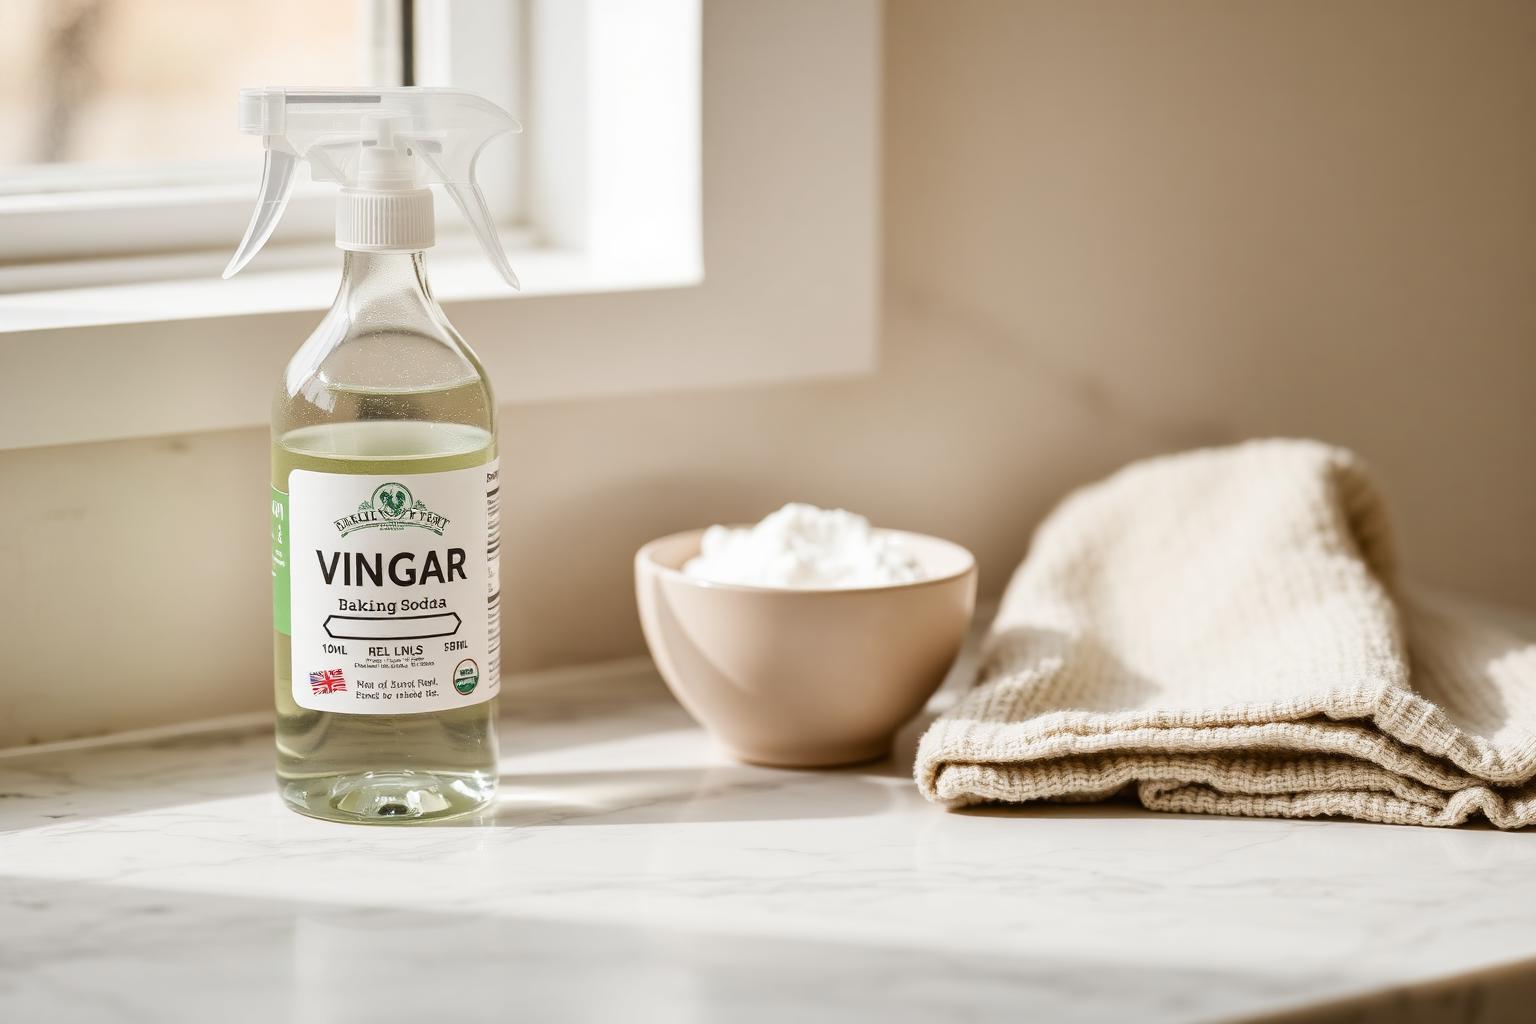
- 2 cups distilled white vinegar
- 2 cups warm filtered water
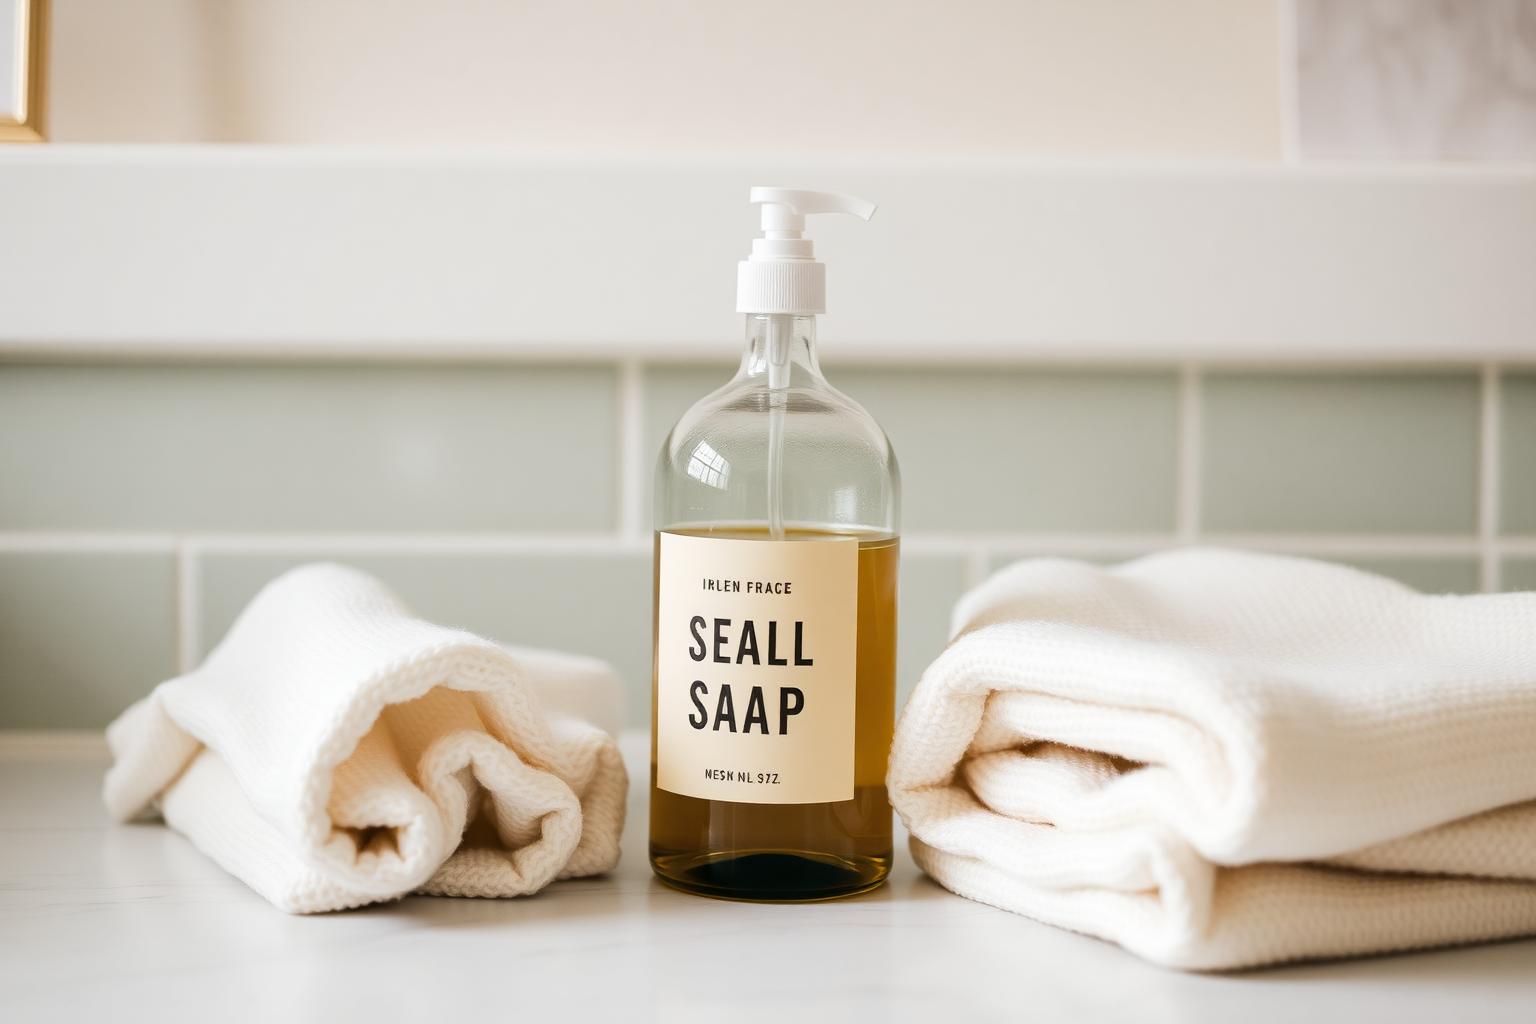
- 1 tablespoon liquid castile soap or unscented dish soap
- 15 drops essential oil (lemon, tea tree, or eucalyptus)
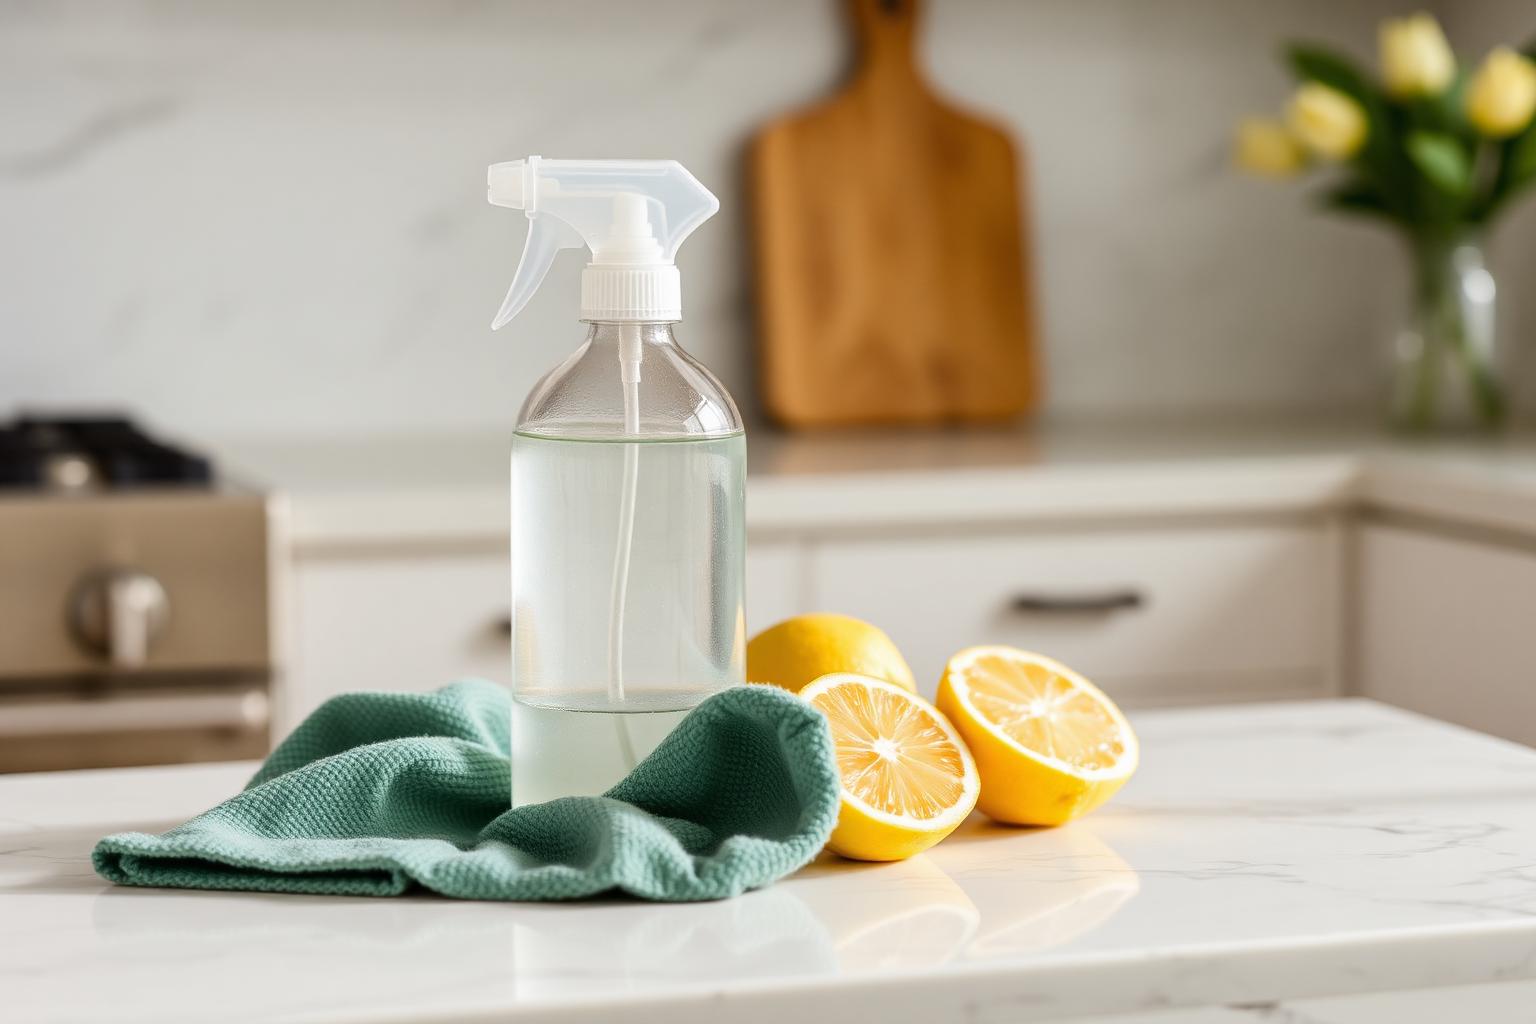
Combine everything in a 32-ounce glass spray bottle. Glass matters here, because the essential oils can break down plastic over time. Shake gently before each use. The mixture keeps indefinitely on the shelf and does not need to be refrigerated.
Where to Use It
Kitchen counters, the inside and outside of the microwave, stovetops, sinks, the refrigerator (interior and exterior), bathroom counters, toilet exteriors, tile floors, light switches, doorknobs, garbage cans, and most appliances. It is safe on sealed granite, quartz, laminate, and stainless steel.
Where Not to Use It
Vinegar is acidic, so avoid using this cleaner on unsealed natural stone (especially marble and travertine), waxed wood floors, electronic screens, and cast iron. For those surfaces, plain warm water and a microfiber cloth is almost always enough.
Pro Tips After Two Years of Use
First, do not skip the soap. The vinegar does the disinfecting work, but the soap is what lifts grease and grime so you can wipe it away. Without it, you'll feel like the cleaner isn't doing much.
Second, the smell of vinegar dissipates in about five minutes once the surface dries. If you genuinely hate the smell, infuse your vinegar with citrus peels for two weeks before mixing. Drop orange or lemon peels in a jar of vinegar, seal it, and let it sit in a cool dark cabinet. The result smells fresh and citrusy with almost no sharpness.
Third, label your bottle. I cannot count the number of times a guest has picked up an unlabeled bottle and asked what it is. A small piece of masking tape with a marker is enough.
Cleaning your home should not require a respirator and a chemistry degree. The simplest recipes are almost always the ones that last.
Final Thoughts
Making your own cleaner is one of those tiny lifestyle changes that pays off in a hundred small ways: less plastic waste, lower spending, a calmer-smelling home, and the quiet satisfaction of knowing exactly what is in the bottle you spray near your food. Give the recipe a try for two weeks. If it doesn't work for your home, you've only spent a dollar finding out.
Filed in Cleaning · Natural Cleaners
More articles