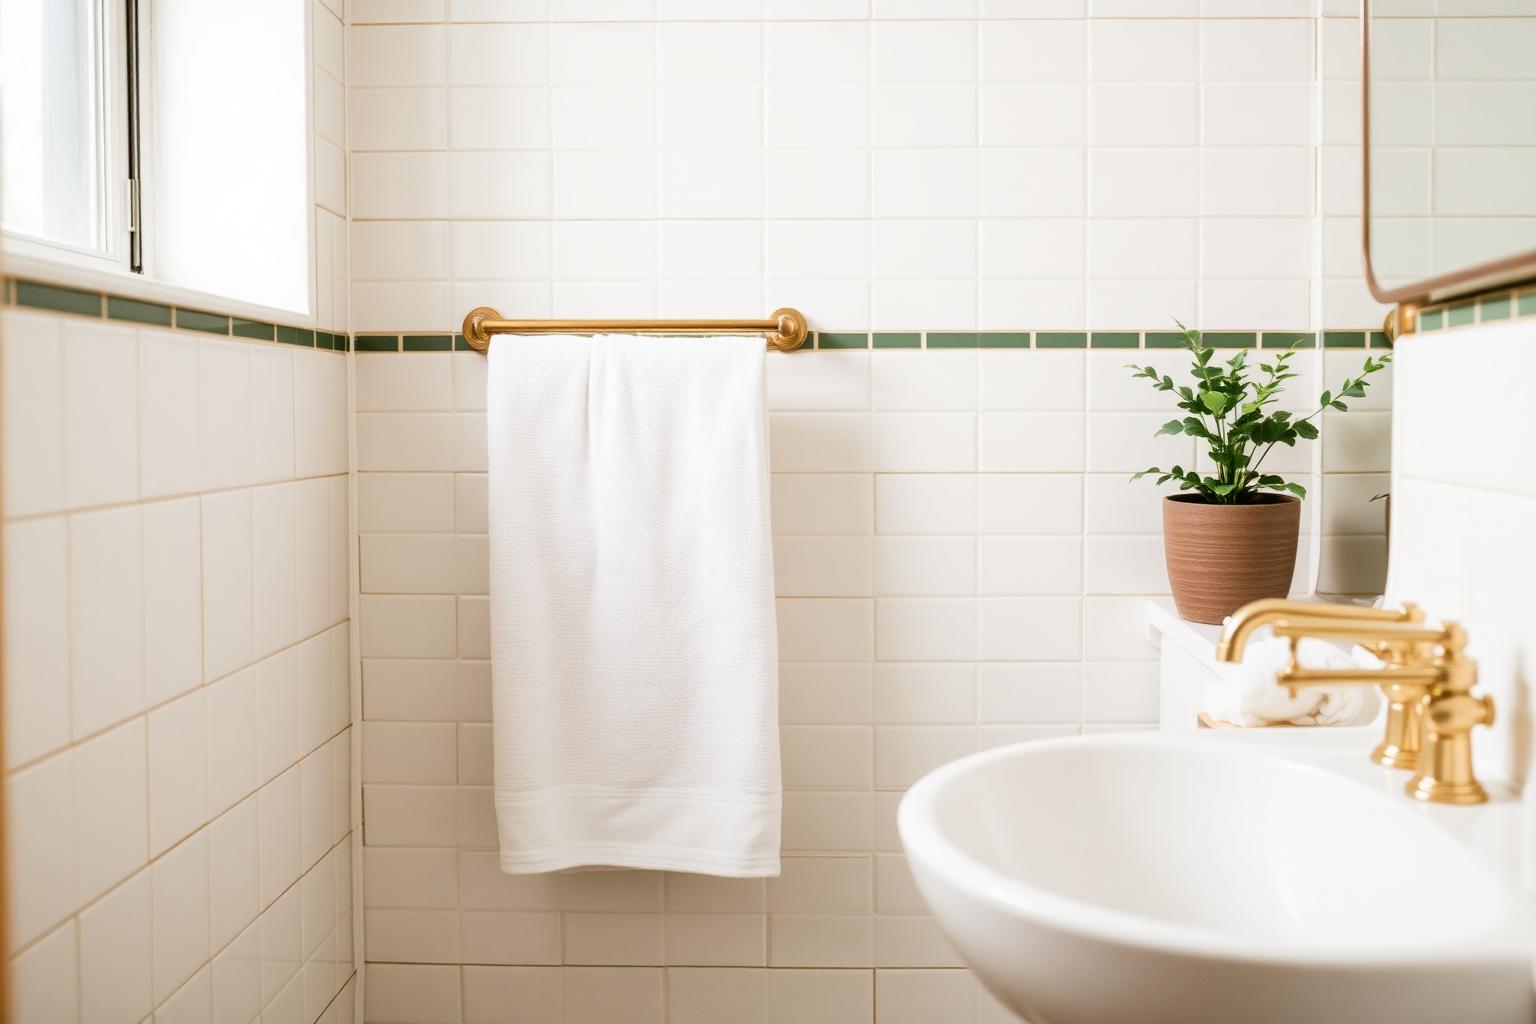
Grout is the part of every tiled surface that quietly determines how clean the whole room looks. You can wipe down spotless tile and the room can still look grubby if the grout lines have gone gray. The instinct is to attack with the strongest cleaner in the cabinet, but grout is porous and surprisingly fragile, and a lot of the popular grout-cleaning advice on the internet damages the surrounding tile in the process.
The method below is gentle, patient, and effective on every common type of grout. It uses three ingredients you already own, no power tools, and no chemicals strong enough to require a mask. The trade-off is that it asks for thirty quiet minutes instead of three frantic ones.
What You Are Actually Cleaning
Grout discoloration comes from three sources: soap scum, hard-water minerals, and biofilm (a thin layer of bacteria and mold that thrives in the warm humidity of a bathroom). Each responds to a slightly different ingredient, which is why a single product rarely solves the problem completely.
Bleach kills biofilm but does not touch mineral buildup and can corrode certain types of sealed grout. Vinegar dissolves minerals and some soap scum but can etch sanded grout if used too aggressively. Baking soda lifts soap scum and mild discoloration through gentle abrasion. The trick is to use all three in the right order.
What You'll Need
- 1 cup baking soda
- 1/3 cup hydrogen peroxide (3% from the drugstore)
- A few drops of dish soap
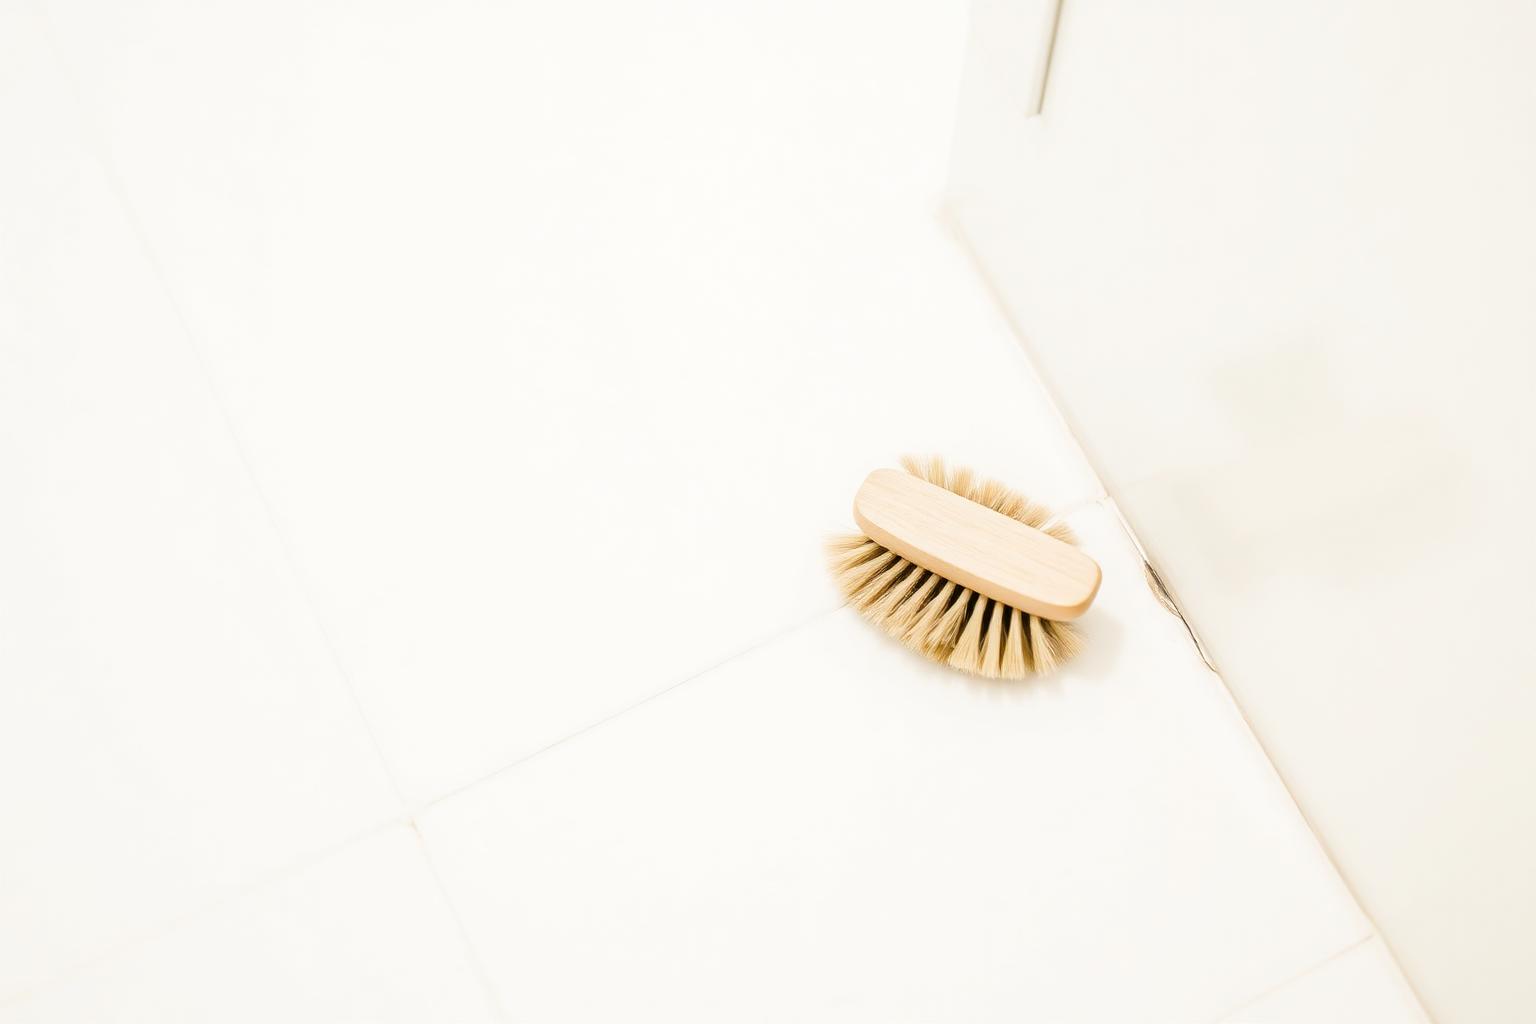
- An old soft-bristled toothbrush
- A spray bottle of white vinegar
- A small bowl and a spoon
- Warm water and a microfiber cloth
Notice what is not on the list: bleach. Chlorine bleach will whiten grout temporarily but it slowly degrades the cement binder, which makes the grout more porous and faster to stain next time. The peroxide-based method below brightens just as effectively and does not damage the grout.
Step One: A Vinegar Mist (Skip on Marble)
If your tile is ceramic, porcelain, or glazed, lightly mist the grout lines with white vinegar from your spray bottle and let it sit for five minutes. This dissolves the mineral and soap-scum film on the surface so the paste in the next step can do its real work.
Critical exception: if your tile is natural stone (marble, travertine, slate, or limestone), skip the vinegar entirely. The acid will etch the surface permanently. Use plain warm water instead.
Step Two: Make the Brightening Paste
In a small bowl, mix the baking soda and hydrogen peroxide until you have a thick paste — about the consistency of toothpaste. Add the dish soap and stir gently. The mixture should foam very slightly. If it is runny, add more baking soda. If it crumbles, add more peroxide.
Spoon the paste directly onto the grout lines. You do not need to coat the tile itself, but a little overlap is fine and will not cause harm. Cover every grout line you want to brighten.
Step Three: Wait Ten Minutes
This is the moment everyone wants to skip and absolutely should not. The peroxide needs roughly ten minutes of contact time to oxidize the staining and biofilm. Without the wait, you are essentially scrubbing with regular baking soda.
Use the waiting time to do something genuinely pleasant. Make tea. Put on a record. The grout is doing the work for you.
Step Four: Scrub Gently
Take the old toothbrush and scrub each grout line in a back-and-forth motion. Do not press hard. The combination of paste and soft bristles does the lifting; pressure just tires your hand and risks chipping the surrounding tile edges.
If a section is particularly stained, add a tiny bit of fresh paste and scrub again. Move slowly across the floor or wall, finishing one section at a time so the paste does not dry out before you reach it.
Step Five: Rinse Twice
Wipe the tile and grout with a microfiber cloth dipped in warm water. The first pass removes most of the paste; the second pass removes the residue. Rinse the cloth often. Two clean passes is the minimum; three is better for floor tile where any residue will attract dirt fast.
Step Six: Dry and Look
Dry the surface with a clean cloth or let it air dry. Grout always looks lighter when it is wet, so the real test comes once the surface is fully dry — usually within an hour. If certain sections are still stained, repeat the paste and the wait on just those spots. Severely stained grout sometimes needs three rounds. That is normal, and far gentler than a single round with a corrosive cleaner.
Grout responds to patience, not aggression. The third round of paste at fifteen minutes always beats one round of bleach at full strength.
When to Re-Seal
If your grout still looks dull after a thorough clean, it is probably time to re-seal. A small bottle of penetrating grout sealer from any hardware store costs about ten dollars and lasts for one to two years. Apply with a small foam brush directly to the grout lines, let it sit for ten minutes, and wipe off any excess. Sealed grout repels water, soap, and bacteria, which means a single annual cleaning is usually enough to keep it bright forever.
Preventing Future Stains
Three small habits will keep grout from getting bad again. The first is running the bathroom fan for twenty minutes after every shower to reduce ambient humidity. The second is a daily shower spray — a mix of equal parts water, vinegar (if your tile is not stone), and a teaspoon of dish soap — misted on the walls after the last shower. No rinsing. The third is a monthly five-minute pass with the same paste method on any spots starting to dull.
Together, those three habits mean you should never need a full grout cleaning more than once a year.
Floor Grout Specifically
Floor grout takes more abuse than wall grout because it lives in the path of every dirty shoe, dropped towel, and splashed bath. A small rug runner just inside the bathroom door catches most of the dirt before it reaches the floor. Even a cheap cotton rug, washed monthly, will extend the time between grout deep-cleans by months.
A Quick Word on Magic Erasers
Magic erasers are made of melamine foam and work like an ultra-fine sandpaper. They will brighten grout in a single pass, which is satisfying, but they also gradually wear down the sealant and the surface of the grout itself. Use them sparingly — once or twice a year, not weekly. The paste method above does the same job without slowly eroding the surface.
Final Thoughts
Bright grout is one of those small details that makes a bathroom feel renovated even when nothing else has changed. The method takes about forty minutes for a full floor, costs roughly a dollar in ingredients, and damages nothing. Run it once, seal the grout, build the prevention habits, and the room will look freshly tiled for years.
Filed in Cleaning · Bathroom Cleaning
More articles