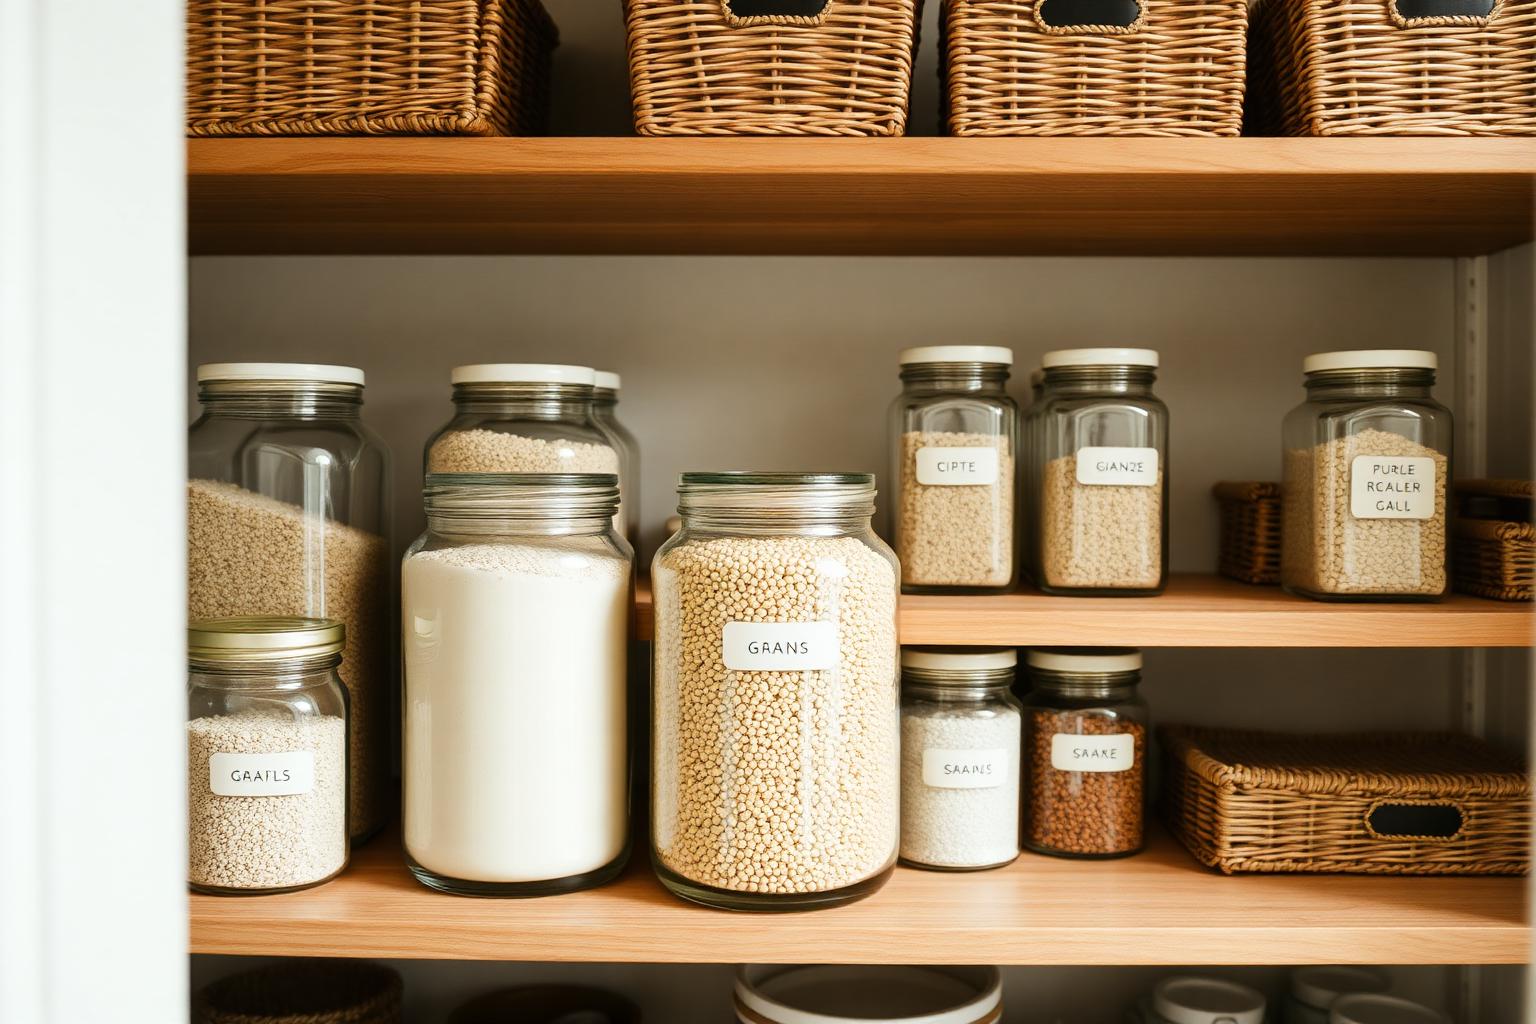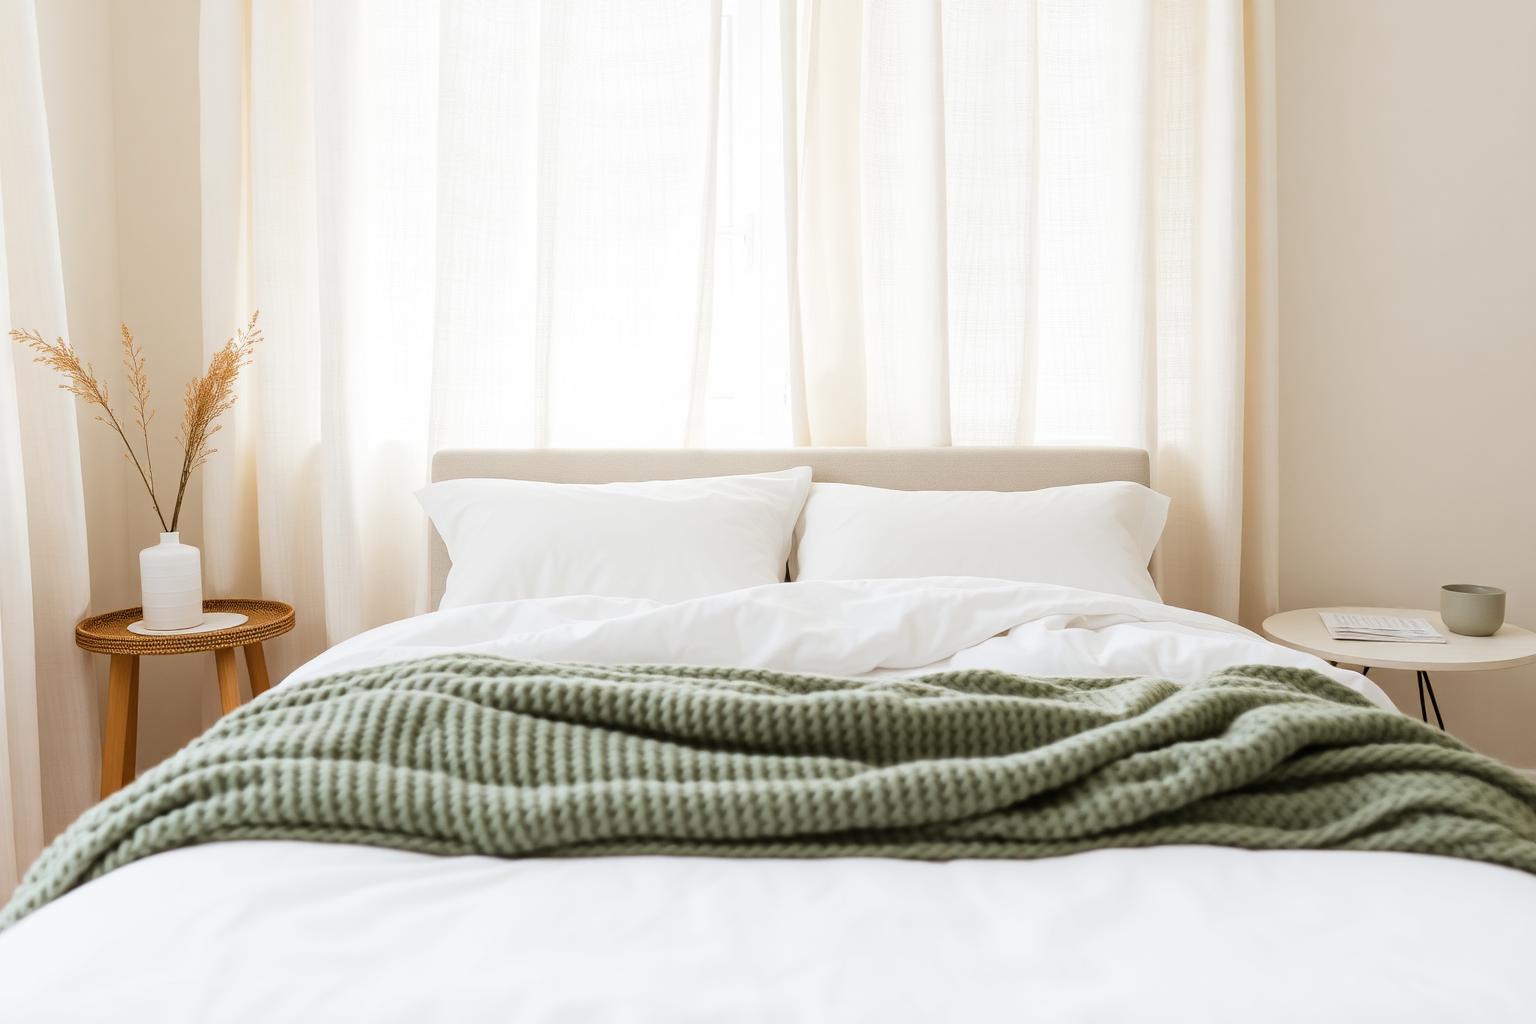
Painted walls are quietly heroic. They take the brunt of furniture moves, kid hands, dog tails, dragged suitcases, and the back of every dining chair, and they keep looking decent for years. Until one day you notice the wall behind the couch is grayer than it should be, the hallway has six unexplained scuffs, and there is a mystery black streak above the light switch.
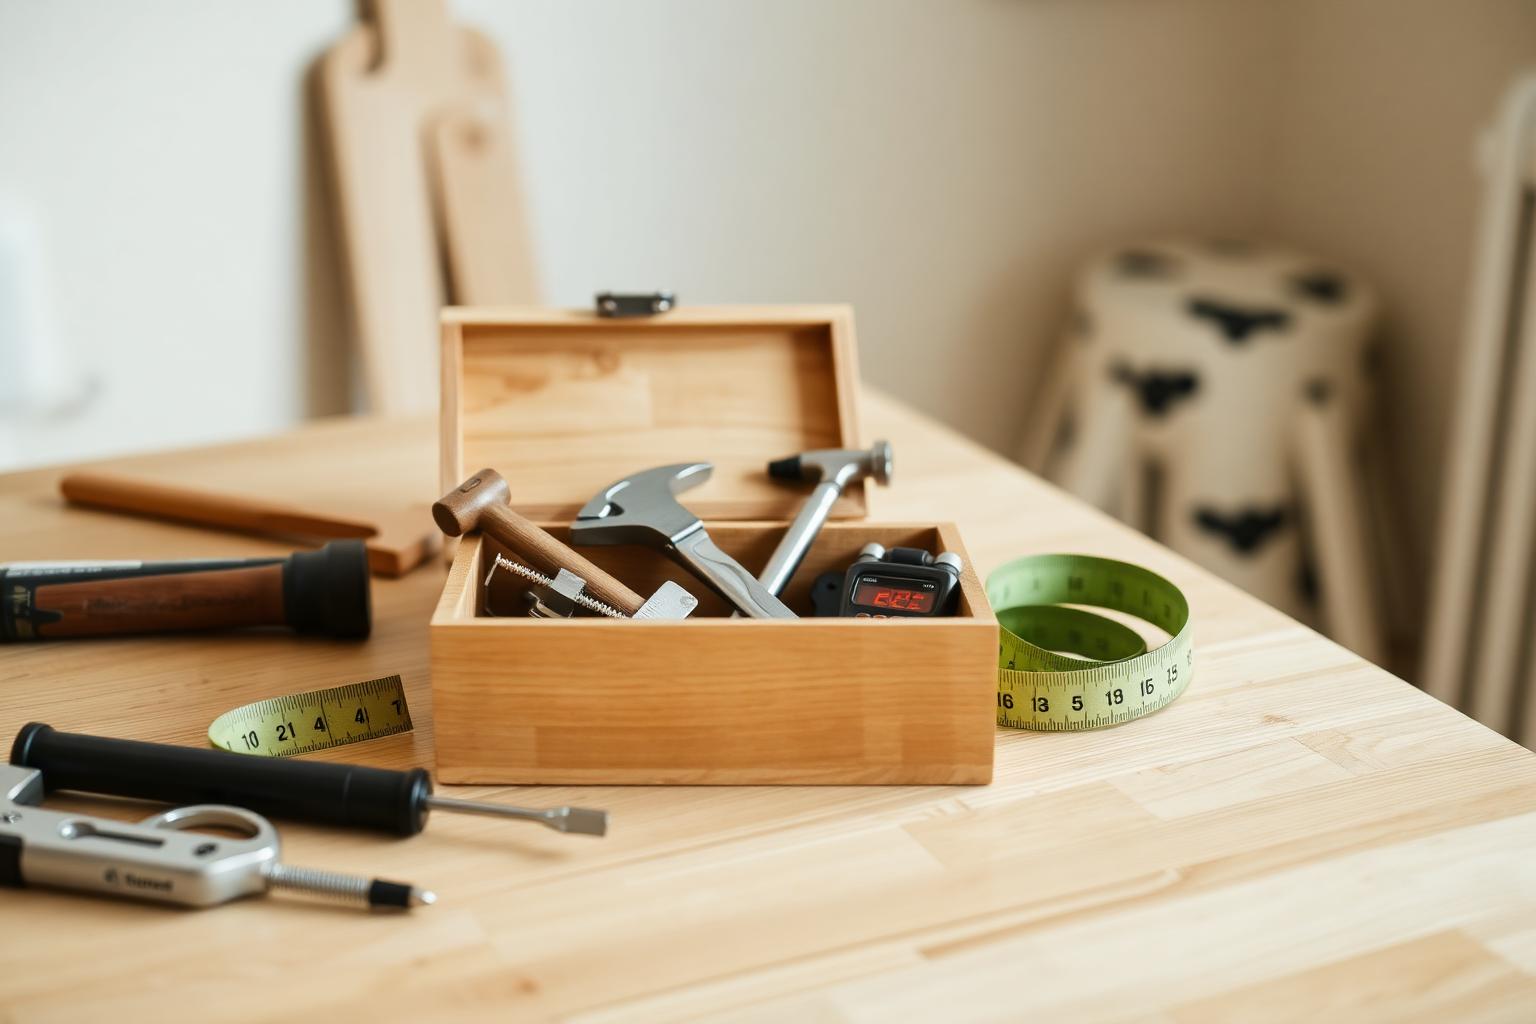
Repainting is the nuclear option. Before you crack open a fresh gallon, try the methods below in order. The first three handle 80 percent of wall marks in under ten minutes.
Step One: Identify the Mark
Before scrubbing anything, look closely at the mark. Is it a scuff (deposited material, like rubber or fabric on top of the paint)? A scratch (the paint itself is damaged)? A stain (something soaked into the paint)? Each one wants a different approach, and using the wrong method either does nothing or makes it worse.
Quick test: rub the mark gently with a damp white cloth. If color transfers to the cloth, it is a deposit and will clean off. If nothing transfers but the mark stays, it is in the paint and needs more work.
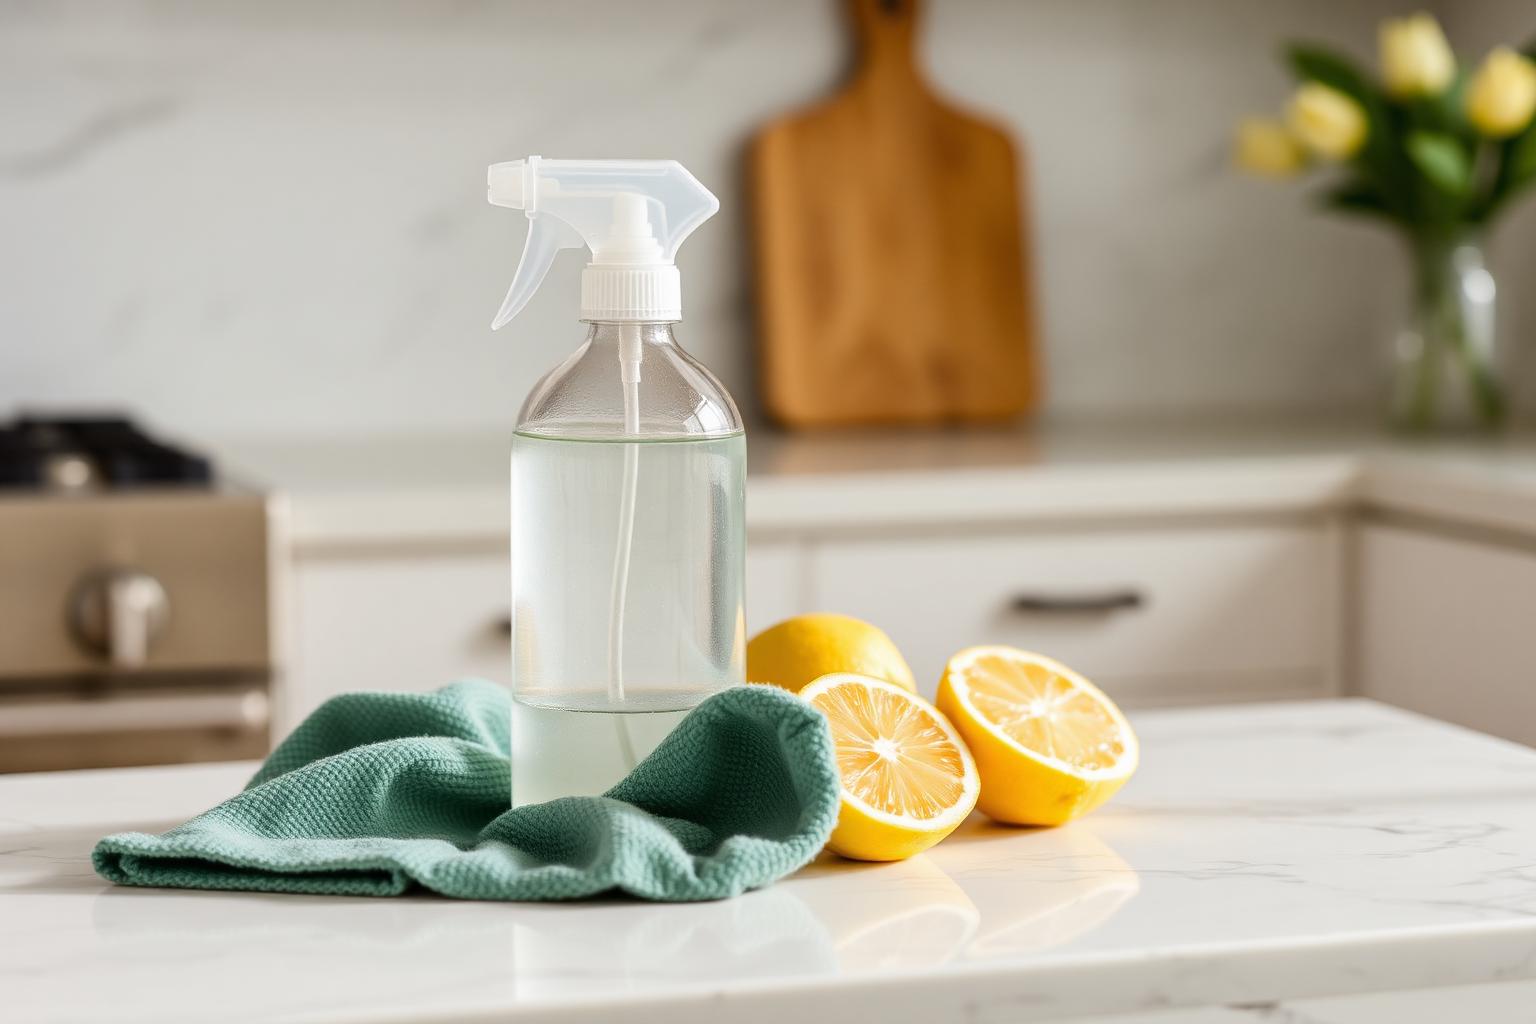
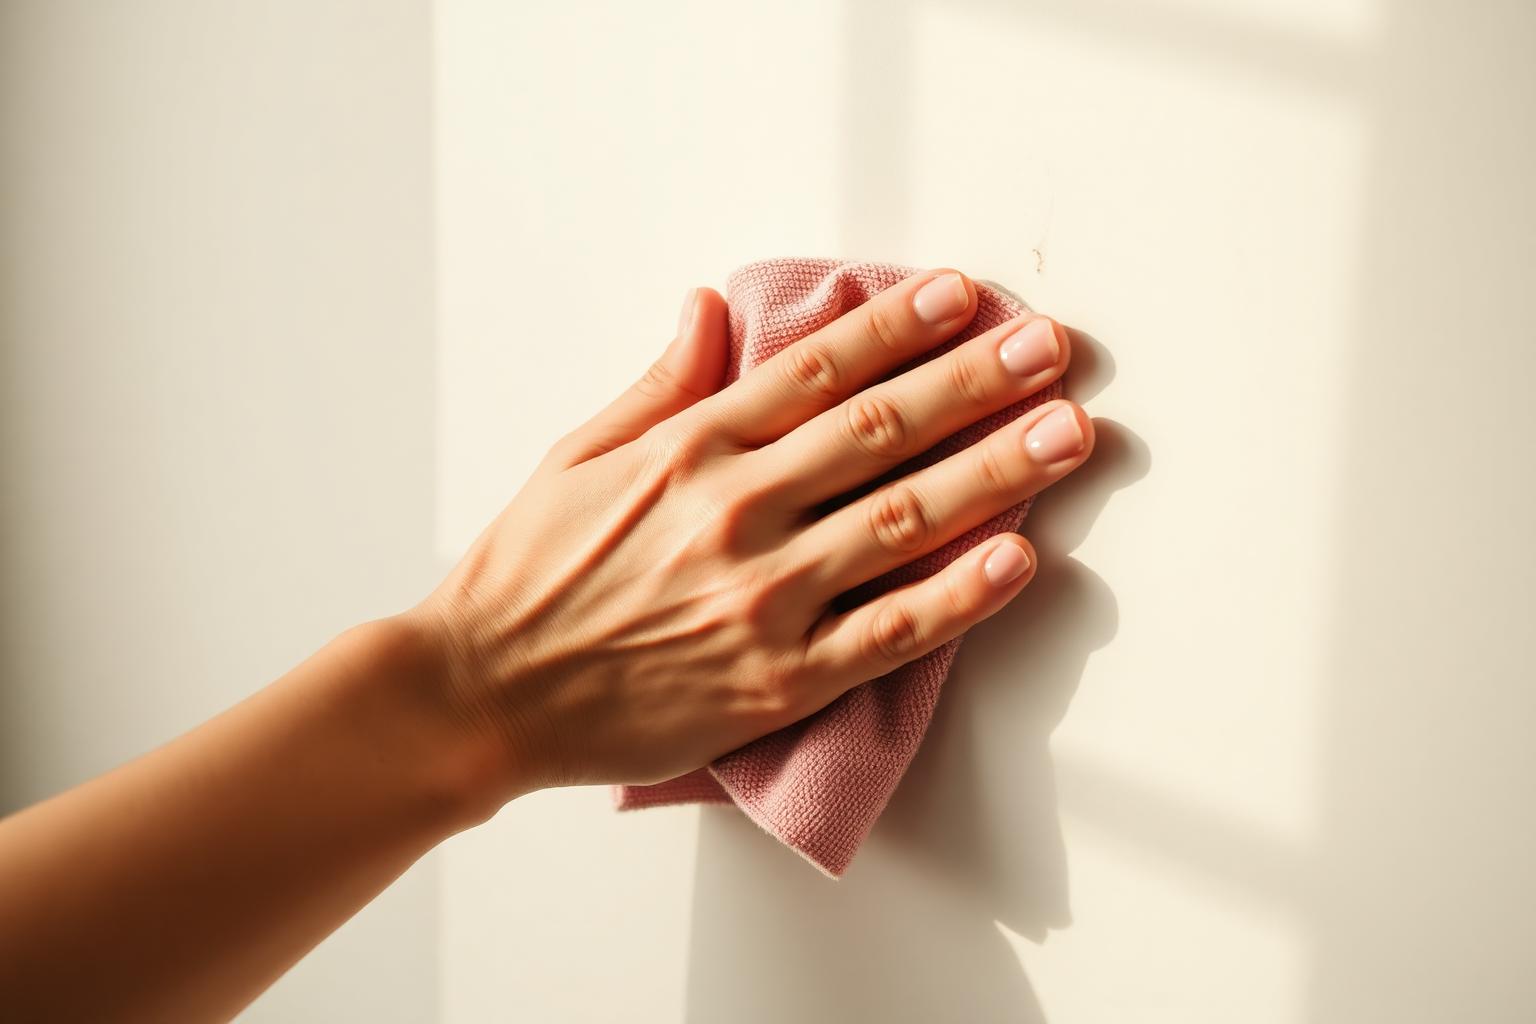
Method One: The Damp Microfiber
Start with the gentlest possible approach: a clean microfiber cloth, dampened with warm water, rubbed gently over the mark in small circles. Half of all wall marks come off this way. It works because most marks are dust, grease, or food residue sitting on top of the paint, not embedded in it.
This is also the only method safe on flat (matte) paint, which is delicate and shows wear quickly. Anything more aggressive on flat paint will leave a noticeably shinier patch where you scrubbed.
Method Two: Dish Soap and Water
If plain water did not work, add a single drop of mild dish soap to a cup of warm water. Dip the microfiber, wring it almost dry, and gently rub the mark. Rinse with a clean damp cloth afterward to remove the soap residue.
This handles the next 25 percent of marks — most grease, food, hand oils, and light crayon. Still gentle enough for most paint finishes, including eggshell and satin.
Method Three: The Magic Eraser (Carefully)
The melamine-foam eraser (sold as Magic Eraser and store-brand equivalents) is the most powerful wall-cleaning tool for under three dollars, and the most dangerous one for your paint. It works by being a very fine abrasive — essentially extremely soft sandpaper.
On semi-gloss and gloss paint (kitchens, bathrooms, trim, doors), it is nearly miraculous. Wet it, squeeze most of the water out, and rub gently. Black scuffs and crayon disappear in seconds.
On flat and eggshell paint, it removes the paint along with the mark and leaves an obvious dull patch. Use it on these finishes only as a last resort before repainting.
Method Four: Baking Soda Paste
For older, set-in stains — coffee splashes, ketchup, the mystery streak behind the trash can — make a paste of three parts baking soda to one part water. Apply to the mark with your finger, let it sit for one minute, then wipe gently with a damp cloth. The mild abrasion plus the absorbent baking soda pulls many older stains out of the paint without damaging the finish.
Method Five: Touch-Up Paint
If the methods above did not work, the paint itself is damaged and the only fix is a small touch-up. The trick to invisible touch-ups is using the exact original paint, applying it with the same tool that originally rolled or brushed the wall, and feathering the edges.
If you still have the leftover gallon, you are in luck. Stir thoroughly, decant a small amount into a yogurt cup, and dab the damaged spot with a small piece of the same roller (or the same brush) used originally. A foam brush or artist's brush often shows. Match the application method or the touch-up will look like a patch.
What to Do If You Don't Have the Paint
If the original paint is long gone, you have three options. The best one is to take a small chip of the wall (cut from a hidden corner with a utility knife) to a paint store with a color-matching machine — they can scan and mix a near-perfect match for about 40 dollars.
Second best: paint the entire wall, not just the patch. A patched-and-touched-up wall almost never matches perfectly because the new paint sits at a slightly different sheen than aged paint. A full wall reads as fresh paint, not a flaw.
Third best (rentals, urgency): a white toothpaste rub for tiny chips on white walls. Not a real fix, but reads invisible from across a room and works in a pinch.
The cheapest renovation in any home is a clean wall. Half the time a room does not need a refresh — it needs a microfiber.
Preventing Future Marks
Most wall marks happen in predictable places: behind sofas (back cushions rubbing the paint), under light switches (hand grease), behind doors (handle dents), around the trash can (splatters), and at chair-back height in dining rooms. Tiny adjustments prevent most of it.
- Pull furniture two inches off walls to stop rubbing
- Add felt pads to anything that touches a wall (chair backs, picture frames)
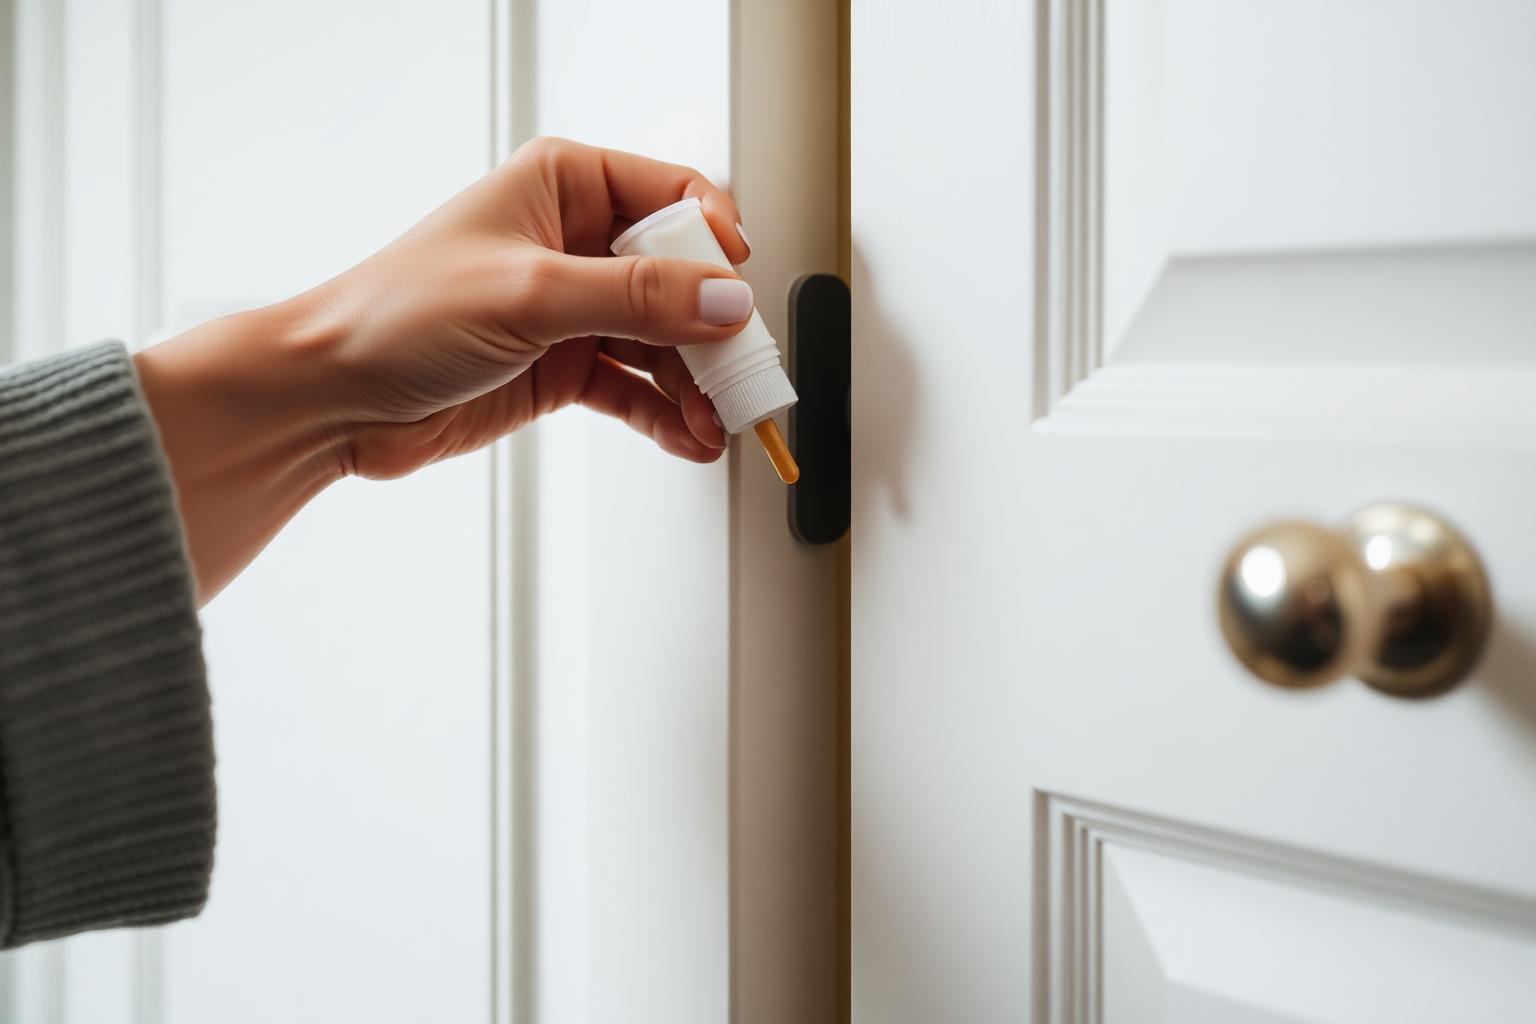
- Install a small clear door stop where every door swings
- Use chair-rail molding in dining rooms (or a strip of clear protective film)
- Wipe walls around switches and trash cans every couple of weeks
A Note on Paint Sheen
The best defense against wall marks is the right sheen in high-traffic areas. Use eggshell or satin in hallways, kitchens, and kids' rooms — they wipe clean far better than flat paint. Save flat finish for adult bedrooms, formal rooms, and ceilings, where the velvety look is worth the lower durability.
Final Thoughts
Most wall marks are not a repainting problem — they are a five-minute cleaning problem in disguise. Run the methods above in order, stop at the first one that works, and keep a small jar of touch-up paint labeled for every wall color in the house. A weekend audit of every painted surface, a damp microfiber, and ten minutes of light work will make the whole house look freshly painted without spending a dollar on paint.
Filed in Home & DIY · Repairs & Hacks
More articles