Stainless steel appliances are a strange thing. They look beautiful for about six hours after they are installed and then spend the rest of their lives covered in fingerprints, water spots, and the faint streaks left by the last person who tried to wipe them down. If you have ever cleaned a refrigerator door, stepped back to admire your work, and immediately seen a streak you cannot un-see, you already know the problem.
The good news is that the streak issue is not really about effort. It is about technique, products, and a couple of small habits that nobody ever mentions when you buy the appliance. Once you understand the grain of stainless steel and pick the right cleaner, the maintenance becomes one of the easiest jobs in the kitchen.
Understand the Grain
Stainless steel has a grain, just like wood. You can usually see faint horizontal or vertical lines running along the surface. Cleaning across the grain leaves streaks visible from across the room. Cleaning with the grain hides any small marks because the lines absorb the cloth's motion.
Before you touch any cleaner, take a close look at the appliance and identify which way the grain runs. On most refrigerators and dishwashers, the grain runs horizontally on the doors and vertically on the sides. The handle often runs the opposite direction from the door panel. Plan your wiping accordingly.
The Two-Step Method
The whole technique comes down to two passes with two different cloths. The first cloth cleans. The second cloth polishes. Skip the second pass and you will see streaks. Skip the first and you will polish dirt into the surface. Both steps are short.
Pass One: Clean
Spray a microfiber cloth (not the surface) with a small amount of warm water mixed with a single drop of dish soap. Wipe with the grain in long, overlapping strokes. Cover the entire panel. For visible grease or splatter near a stove, fold the cloth to a fresh side and go over the spot again.
Pass Two: Polish
Take a second dry microfiber cloth and buff the surface, again with the grain. This pass removes the last traces of moisture and any soap residue that would otherwise dry into streaks. The surface should look the way it did the day the appliance was delivered.
What to Skip
- Paper towels — they leave lint and tiny scratches
- Generic glass cleaner — the ammonia dulls the finish over time
- Abrasive sponges or scrub pads — they leave permanent marks against the grain
- Bleach or anything chlorine-based — it can pit and discolor stainless
- Olive oil — yes, the internet recommends it; no, do not do it. It gets sticky and attracts dust within days
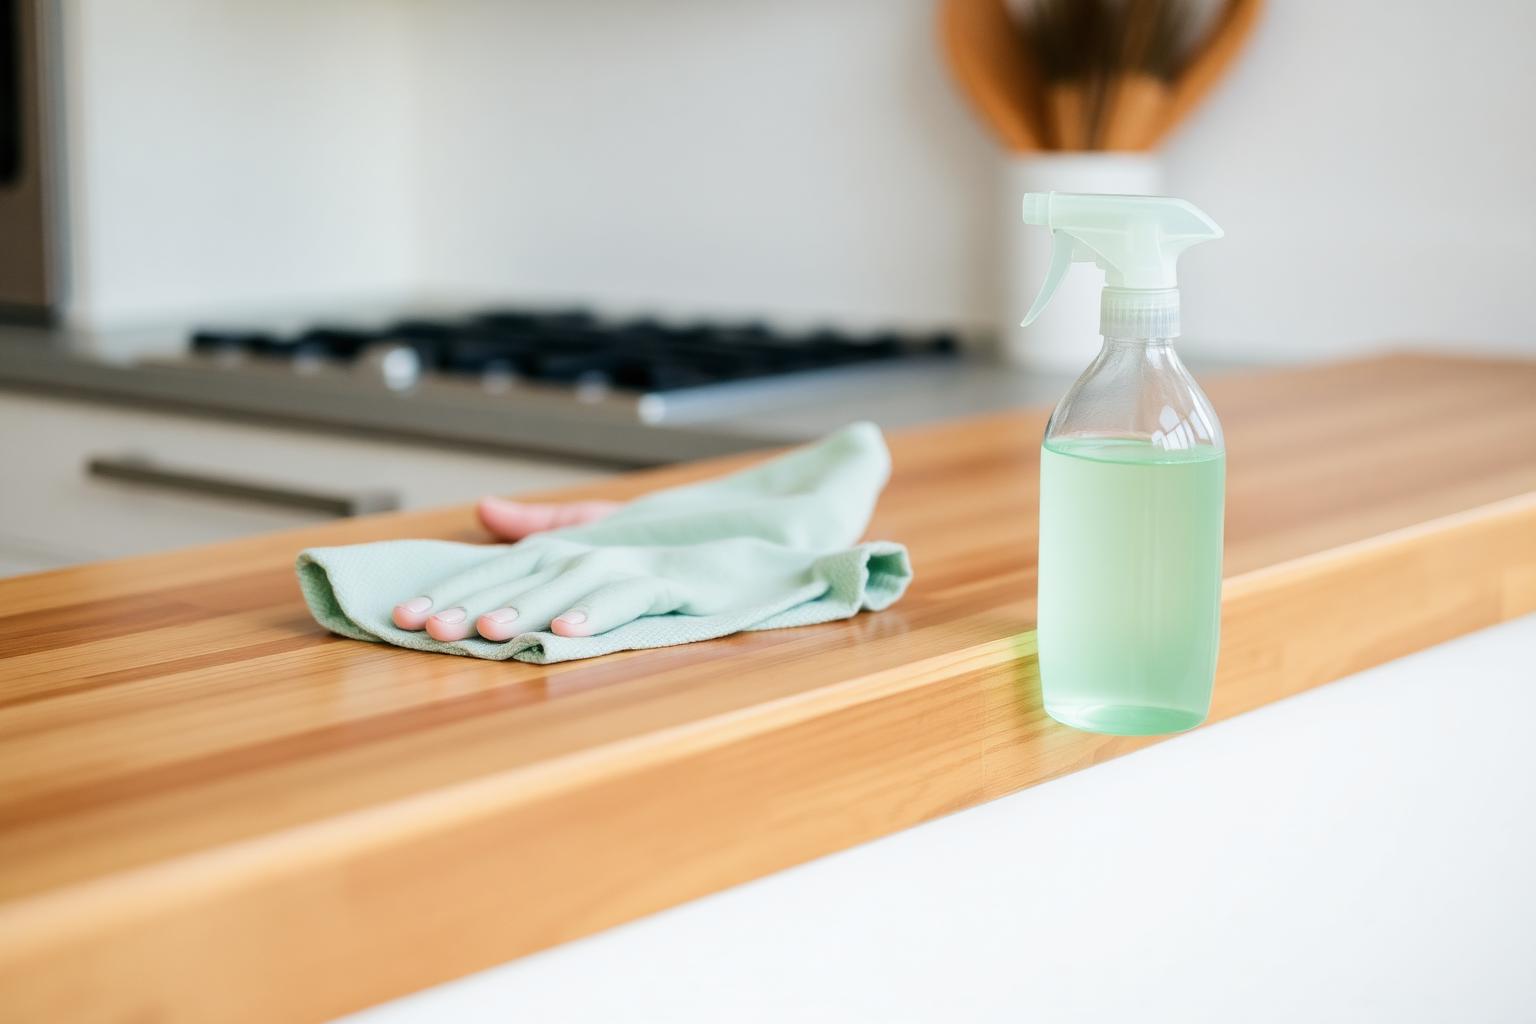
What to Use Instead
For routine cleaning, warm water and a tiny amount of dish soap is genuinely enough most of the time. For stubborn fingerprints, a 50/50 mix of water and white vinegar in a spray bottle works beautifully. For a final occasional polish, a microfiber cloth with a few drops of mineral oil — applied sparingly and buffed thoroughly — gives a soft, lasting shine without the gummy residue olive oil produces.
Fingerprints, Specifically
Fingerprints are the most common complaint about stainless steel, and they are the easiest to solve. The oil from your fingers is what makes prints visible. Any cleaner that dissolves oils will remove them. Water alone does not. A drop of dish soap or a spritz of diluted vinegar is the difference between a smudgy door and a clean one.
If your household includes small hands that touch the fridge constantly, keep a small spray bottle of the vinegar-water mix on top of the refrigerator with a folded microfiber cloth next to it. A ten-second wipe at the end of each day prevents the buildup that turns into a weekend project.
Water Spots Near the Sink
Stainless steel appliances near a sink (especially dishwashers) often develop water spots from splashes that dry on the surface. These are mineral deposits, not dirt, and they laugh at soap. Spray them directly with undiluted white vinegar, let it sit for thirty seconds, and wipe clean with the grain. The spots dissolve. Follow with the dry polish pass.
Sticker Residue and Tape Marks
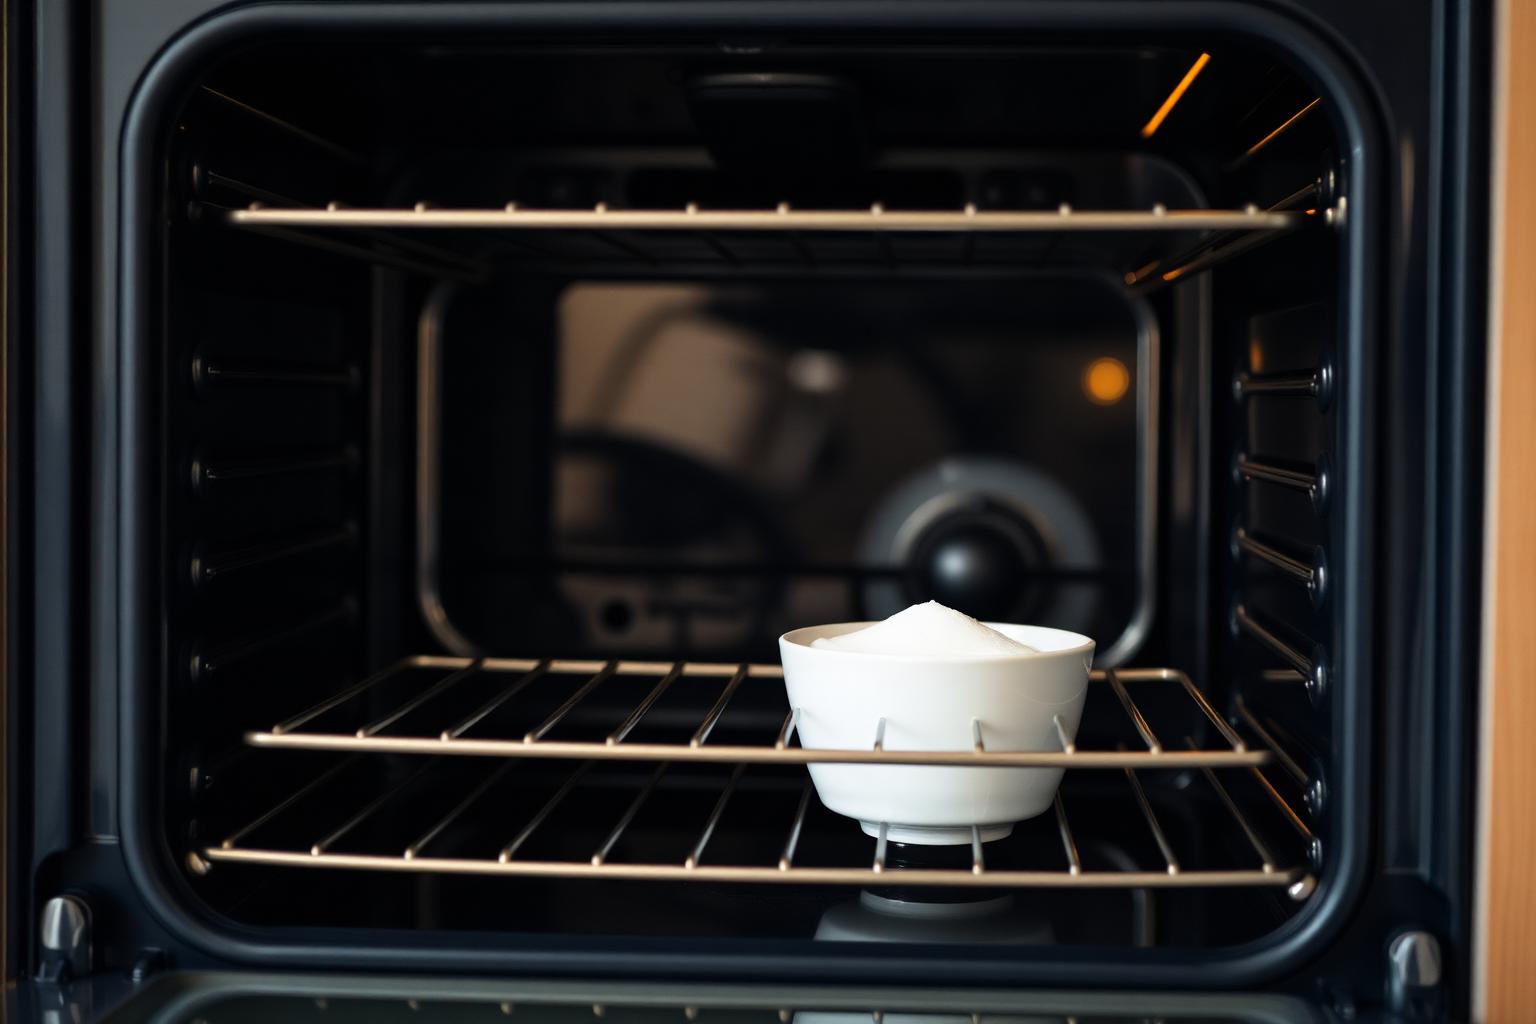
If your appliance still has a sticker outline or tape residue from delivery, do not attack it with a razor blade. A few drops of mineral oil or olive oil on the residue, left for ten minutes, will loosen the adhesive enough to wipe away with a soft cloth. Follow with the standard two-pass clean to remove the oil.
The streak you see is almost never the dirt. It is the cleaner you left behind.
A Weekly Five-Minute Routine
Once a week, take five minutes to do every stainless steel surface in the kitchen: refrigerator front and sides, dishwasher front, range hood, and the toaster oven or microwave if applicable. Spray the cloth, wipe with the grain, polish dry. The whole pass takes less time than emptying the dishwasher, and your kitchen will look like a showroom.
Brushed vs. Polished vs. Smudge-Proof
Not all stainless steel is the same. Brushed (the most common) has a visible grain and is the version this guide focuses on. Polished has a near-mirror finish and shows every print — clean it gently and dry it immediately. Smudge-proof or fingerprint-resistant finishes have a clear coating that hides prints; clean them only with water and a microfiber cloth, because soap residue can dull the coating over time.
Check your appliance manual if you are unsure which one you have. The right cleaner for each is slightly different, but the two-pass technique works on all three.
A Note on Magnets and Decorations
The kitchen designers will tell you to keep stainless steel appliances bare. Most families do not, and that is fine. Just be aware that magnets can leave tiny scratches if dragged, and adhesive hooks can leave residue when removed. Lift, do not slide, and you will not have any long-term damage.
Final Thoughts
Stainless steel does not have to be a chore. The reason it has a reputation for being difficult is that almost everyone uses the wrong cloth, the wrong cleaner, or the wrong direction — often all three at once. Switch to a microfiber cloth, follow the grain, finish with a dry polish, and the appliance you bought because it looked beautiful in the showroom will look beautiful in your kitchen, too.
Filed in Cleaning · Kitchen Cleaning
More articles