If your oven has reached the point where you wince a little every time you open it, you are in very good company. Ovens are one of the most universally neglected appliances in the home, partly because the door stays closed and partly because the commercial cleaners marketed to deal with the mess are unpleasant enough to make most of us shut the door again and put it off another month.
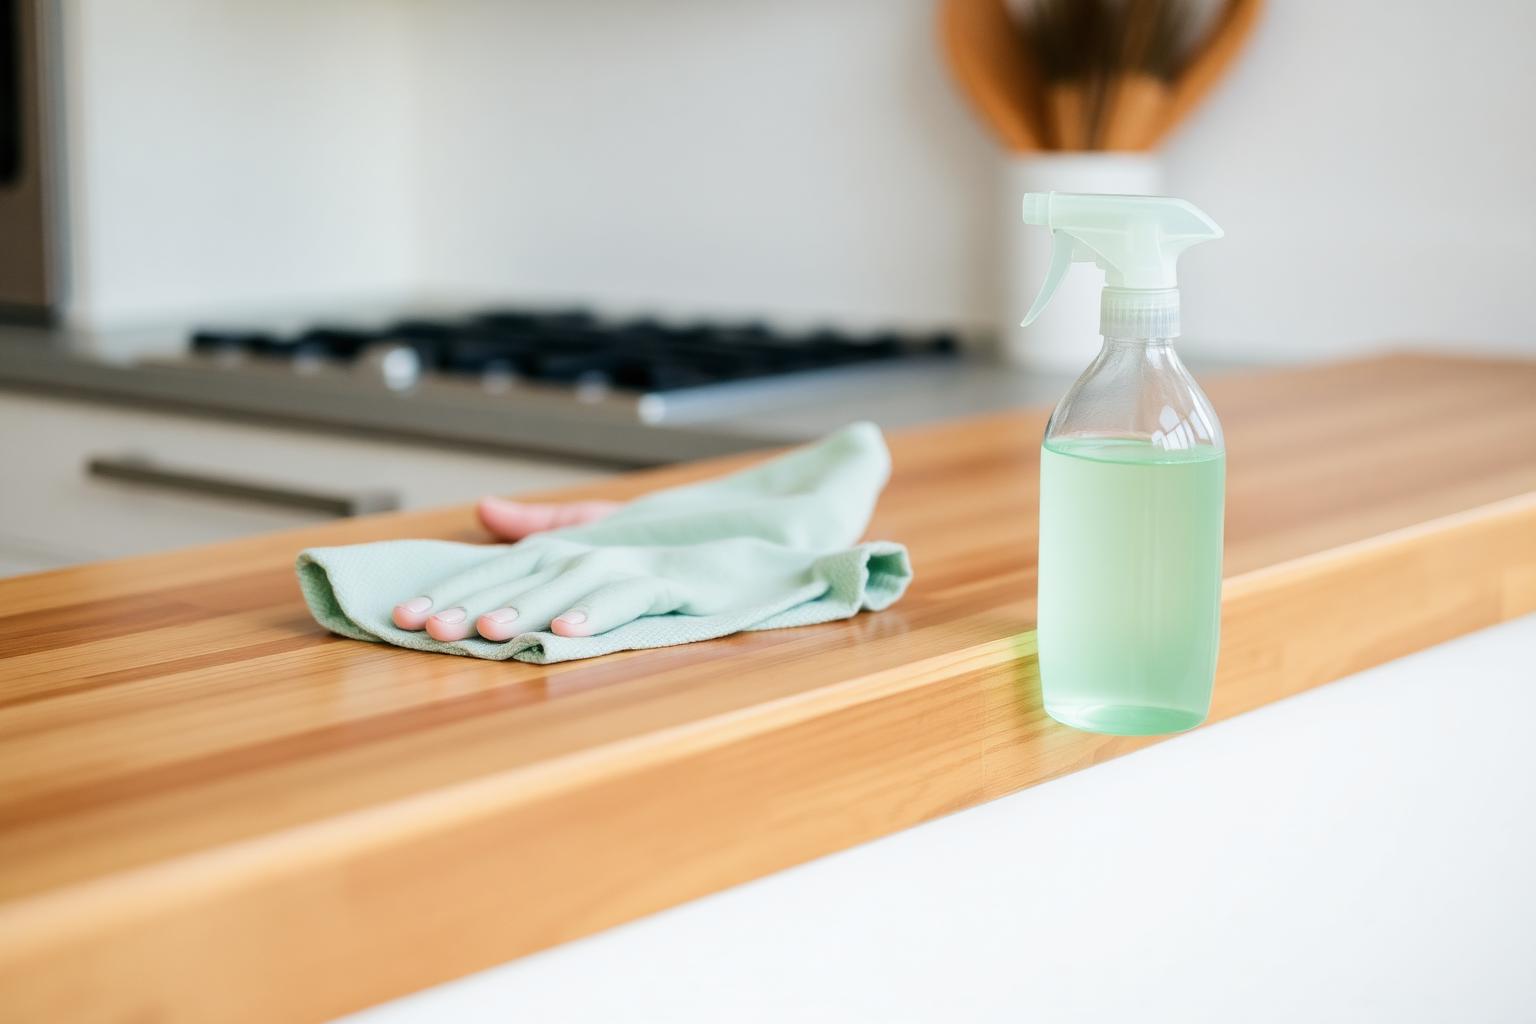
There is a better way, and it costs about forty cents in ingredients. The method below uses baking soda, water, and white vinegar — no fumes, no gloves, no warnings to keep children out of the room. The only thing it asks of you is patience, because the chemistry works best when you let it sit overnight. Block off a Saturday morning to set it up and a Sunday morning to finish, and your oven will look better than it has in years.
Why Skip the Spray Cleaners
Most commercial oven cleaners rely on sodium hydroxide — also called lye or caustic soda. It is genuinely effective, and it is also corrosive enough to damage skin, irritate lungs, and discolor metal trim if you are not careful. Even the so-called fume-free formulas have warnings the length of a paragraph.
Baking soda is a mild alkaline that does the same job through patience rather than potency. Given enough contact time, it breaks down the polymerized grease and carbonized food that makes oven interiors look black and feel sticky. It is safe around pets, safe to breathe, and safe on every surface inside your oven except the heating elements (which you should never spray any cleaner on, no matter what the bottle promises).
What You'll Need
- 1 cup baking soda
- 1/3 cup warm water (more as needed)
- 1 spray bottle of plain white vinegar
- A damp microfiber cloth
- A plastic scraper or old gift card
- Dish soap and a sink (or bathtub) for the racks
- Rubber gloves if you like, but optional
Notice what is not on the list: no aerosol, no industrial degreaser, no protective eyewear. The whole project costs less than a coffee.
Step One: Empty Everything Out
Pull out the oven racks and set them aside. Look for any loose food debris on the bottom of the oven and scoop it out with a paper towel. If your oven has a removable bottom panel, lift it out — it usually wipes much cleaner separately. Take a quick photo of the interior before you start. You will want it later to see how far things have come.
While the oven is empty, run the racks through their own quiet rehabilitation. Fill the kitchen sink (or, for very dirty racks, the bathtub lined with an old towel) with hot water, a generous squirt of dish soap, and half a cup of baking soda. Soak the racks while the oven works on itself.
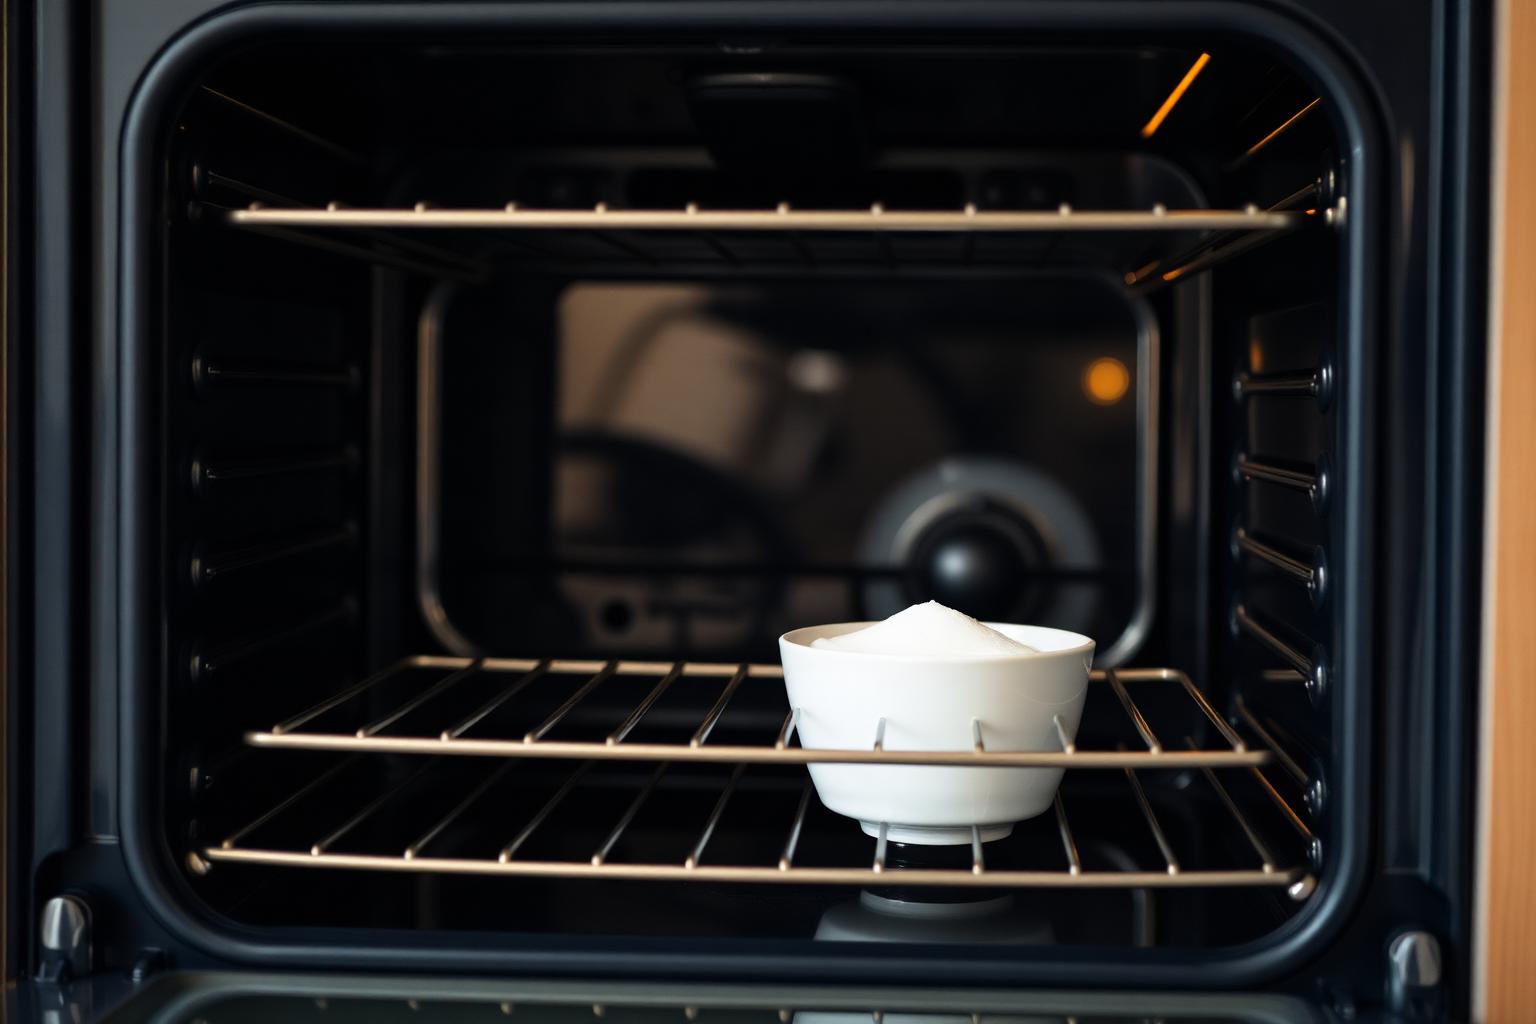
Step Two: Make the Paste
In a small bowl, mix the baking soda with the warm water a tablespoon at a time until you have a spreadable paste — thick enough to cling to a vertical wall, thin enough to spread without tearing. Think of the consistency of cake frosting or hummus. If it crumbles, add more water. If it drips, add more baking soda.
Some people like to add a tablespoon of dish soap to the paste for extra grease-cutting power. I have done it both ways and the soap version smells nicer at the end but does not noticeably change the result. Skip it if you do not have liquid soap on hand.
Step Three: Spread It Like You Mean It
Using your hands (gloves optional) or a silicone spatula, spread the paste over every interior surface of the oven. Pay extra attention to the corners, the underside of the door, the inside of the glass, and any visible grease drips on the back wall. Avoid the heating elements at the top and bottom, and avoid the small vent hole at the back where the temperature probe lives.
The paste will turn brown almost immediately in heavily soiled areas. That is good news. It means the baking soda is already lifting the grease. Close the door and walk away.
Step Four: Wait. Truly Wait.
The single biggest mistake people make with this method is rushing it. Twelve hours is the minimum. Overnight is ideal. A full 24 hours is even better for an oven that has not been cleaned in years. Resist the urge to peek and scrub early. The chemistry needs time to do what you would otherwise do with a wire brush and four-letter words.
Use the waiting time to soak the racks. Every few hours, scrub them with a non-scratch sponge or a soft-bristled brush. By morning the gunk will rinse away with almost no effort.
Step Five: The Morning Wipe-Down
Open the oven and prepare yourself for a satisfying mess. Most of the paste will now be a wet, brown sludge. Using a damp microfiber cloth, wipe out as much as you can in long, slow passes. Rinse the cloth often. For stubborn spots, use the plastic scraper at a 45-degree angle — never a metal blade, which can scratch the enamel.
When most of the paste is out, spritz the entire interior with white vinegar from your spray bottle. It will foam gently as the vinegar reacts with the leftover baking soda. This foaming reaction is what lifts the last of the residue. Wipe again with a clean damp cloth, and then one final time with plain water.
Step Six: The Glass Door
The inside of the oven door usually has the worst buildup because grease splatters there and bakes on every time the oven preheats. Treat it like the rest of the interior. If a film remains after wiping, mix a fresh, slightly thicker paste, spread it on the glass, and let it sit for one more hour. Wipe again. The glass should be transparent enough to read through.
A clean oven does not require harsh chemistry. It requires the patience to let gentle chemistry finish the job overnight.
Putting It All Back Together
Return the now-clean racks to the oven. Wipe the exterior — control panel, handle, the strip of metal under the door — with your usual all-purpose cleaner. If you removed a bottom panel, return it now. Run the oven empty at 350°F for fifteen minutes to make sure any residual vinegar smell burns off before you cook in it again.
Keeping It Clean for Longer
Now that the oven is clean, two small habits will keep it that way for months. The first is a silicone oven liner or a sheet of parchment paper on the lowest rack — never on the floor of the oven itself, which can block heat and cause damage. It catches drips before they bake on.
The second is a sixty-second wipe whenever you notice a spill, while the oven is still warm but not hot. A damp cloth at that moment removes what would take an hour to scrub later.
A Quick Note on Self-Cleaning Cycles
Many modern ovens have a self-cleaning function that heats the interior to around 900°F to burn residue to ash. It works, but it also stresses the oven's electronics, can release fumes that bother pets and asthma sufferers, and has been known to crack glass doors and burn out heating elements. Most appliance technicians I have spoken with quietly recommend not using it. The overnight baking soda method is gentler on the oven and on you.
Final Thoughts
An oven that takes a full weekend to clean once a year is significantly less work than one that takes an hour every month with chemical sprays — and it leaves your kitchen smelling like nothing instead of like industrial solvents. Try the method once and you will likely never go back. Your oven, your lungs, and your wallet will all be a little happier for it.
Filed in Cleaning · Kitchen Cleaning
More articles