Be honest. When was the last time you actually cleaned your refrigerator — and not just wiped up the maple syrup ring on the middle shelf? For most of us, the answer hovers somewhere between 'a long time' and 'I would rather not think about it.' Refrigerators are weird that way. We open them dozens of times a day and clean them once or twice a year.
The good news is that a real refrigerator cleaning is not a four-hour project. With a plan, a single afternoon, and a few normal household supplies, you can take it from quietly sticky to genuinely fresh. This guide walks through the entire job — interior, exterior, gaskets, coils, and the freezer — at a pace that respects your weekend.
Why Bother
There are practical reasons to clean a refrigerator beyond the cosmetic. A clean fridge runs more efficiently because dust on the coils is the single biggest cause of overworked compressors. Clean gaskets seal better, which means less cold air loss and a lower electric bill. And the simple act of taking everything out forces you to face the jar of capers from 2022 you keep telling yourself you will use.
There is also a quieter reason. The refrigerator is the appliance you reach into every time you feed yourself or your family. Knowing the space your food lives in is genuinely clean changes how you feel about your kitchen in ways that are hard to put into words.
What You'll Need
- A small cooler or cardboard box
- A damp microfiber cloth and a dry one
- Warm water and a few drops of dish soap
- A spray bottle of 50/50 water and white vinegar
- An old toothbrush
- A vacuum with a brush attachment
- A small bowl of baking soda for the end
- About two hours of time you can mostly spend listening to a podcast
Step One: Pull Everything Out
Start with the refrigerator side, not the freezer. Empty every shelf and drawer into the cooler or box. As you go, group things in batches: condiments, leftovers, dairy, produce. This makes the put-back stage faster and forces a quick triage. Anything visibly expired, suspicious in color, or unidentifiable goes straight in the trash.
Once the fridge is empty, take out the removable shelves and drawers. Set them on the counter or in the sink. They will be much easier to clean separately.
Step Two: Clean the Interior
Spray the interior walls and the door panels with the warm soapy water (sprayed on the cloth, not the surface, to avoid pooling). Wipe down every wall, the ceiling, the floor of the fridge, and the inside of the door. Pay attention to the rubber gasket — the soft seal around the door — which collects an alarming amount of crumbs and dried liquid.
Use the old toothbrush to scrub the folds of the gasket. This is the single most overlooked surface in the kitchen, and it is one of the most consequential. A gasket full of grime cannot seal properly, which costs you money every month and shortens the life of the compressor.
Step Three: The Shelves and Drawers
Wash the shelves and drawers in the sink with warm soapy water. Glass shelves should be at room temperature before they touch hot water — sudden temperature changes can crack them. Let everything air dry on a clean towel.
If a drawer has a stubborn film of dried produce juice in the corners, sprinkle baking soda directly on the spot, spray with a little vinegar, and let it bubble for two minutes before scrubbing. The fizz lifts almost anything.
Step Four: The Put-Back
Now is the moment to think about how the refrigerator gets used in your house. Most people put things back exactly where they came out, then wonder why they always lose the cilantro. Use the put-back as a small reorganization.
Put dairy on the top shelf, where the temperature is most stable. Raw meat goes on the bottom shelf in a tray, so any drips do not contaminate food below. Leftovers go front and center on the middle shelf, where you cannot ignore them. Produce goes in the drawers, with high-humidity for greens and low-humidity for fruit. Condiments and drinks live in the door, where temperature fluctuates more.
Step Five: The Freezer
Empty the freezer into your cooler. A modern frost-free freezer does not need defrosting, but it still benefits from a clean. Wipe down the walls and shelves with warm soapy water, the same as the fridge. Be quick — you do not want everything to thaw.
If you have a side-by-side or chest freezer that does build up frost, this is also the moment to unplug it for an hour and let the worst of the frost melt into towels at the bottom. Wipe dry and refill.
As you put things back, group like with like: meats together, frozen vegetables together, baked goods together. A labeled bin per category keeps the freezer from becoming an archeological site.
Step Six: The Outside
For a stainless steel exterior, see the streak-free guide elsewhere on this site. For a painted or laminate exterior, warm soapy water on a microfiber cloth is plenty. Wipe the top of the fridge — yes, the top — which collects a startling amount of greasy dust. Wipe the handles, where every hand in the house lands several times a day.
Step Seven: The Coils (This Is the One)
The condenser coils on the back or underneath the refrigerator are the part almost nobody cleans, and they are the part that has the biggest impact on how long your fridge lasts. Coils caked in dust force the compressor to work harder, which raises your electric bill and can cut the lifespan of the appliance in half over the years.
Pull the fridge out from the wall (slowly — there is a water line behind it). Find the coils. They are usually a black metal grid either on the lower back or accessible from a vent on the front kick plate. Vacuum gently with the brush attachment, going slowly so you do not bend any tubing. Two minutes of vacuuming is enough.
Do this once a year. If you have pets, twice. You will be shocked how much hair and dust accumulates back there.
The refrigerator is the only appliance you reach into every time you feed yourself. It deserves an honest clean now and then.
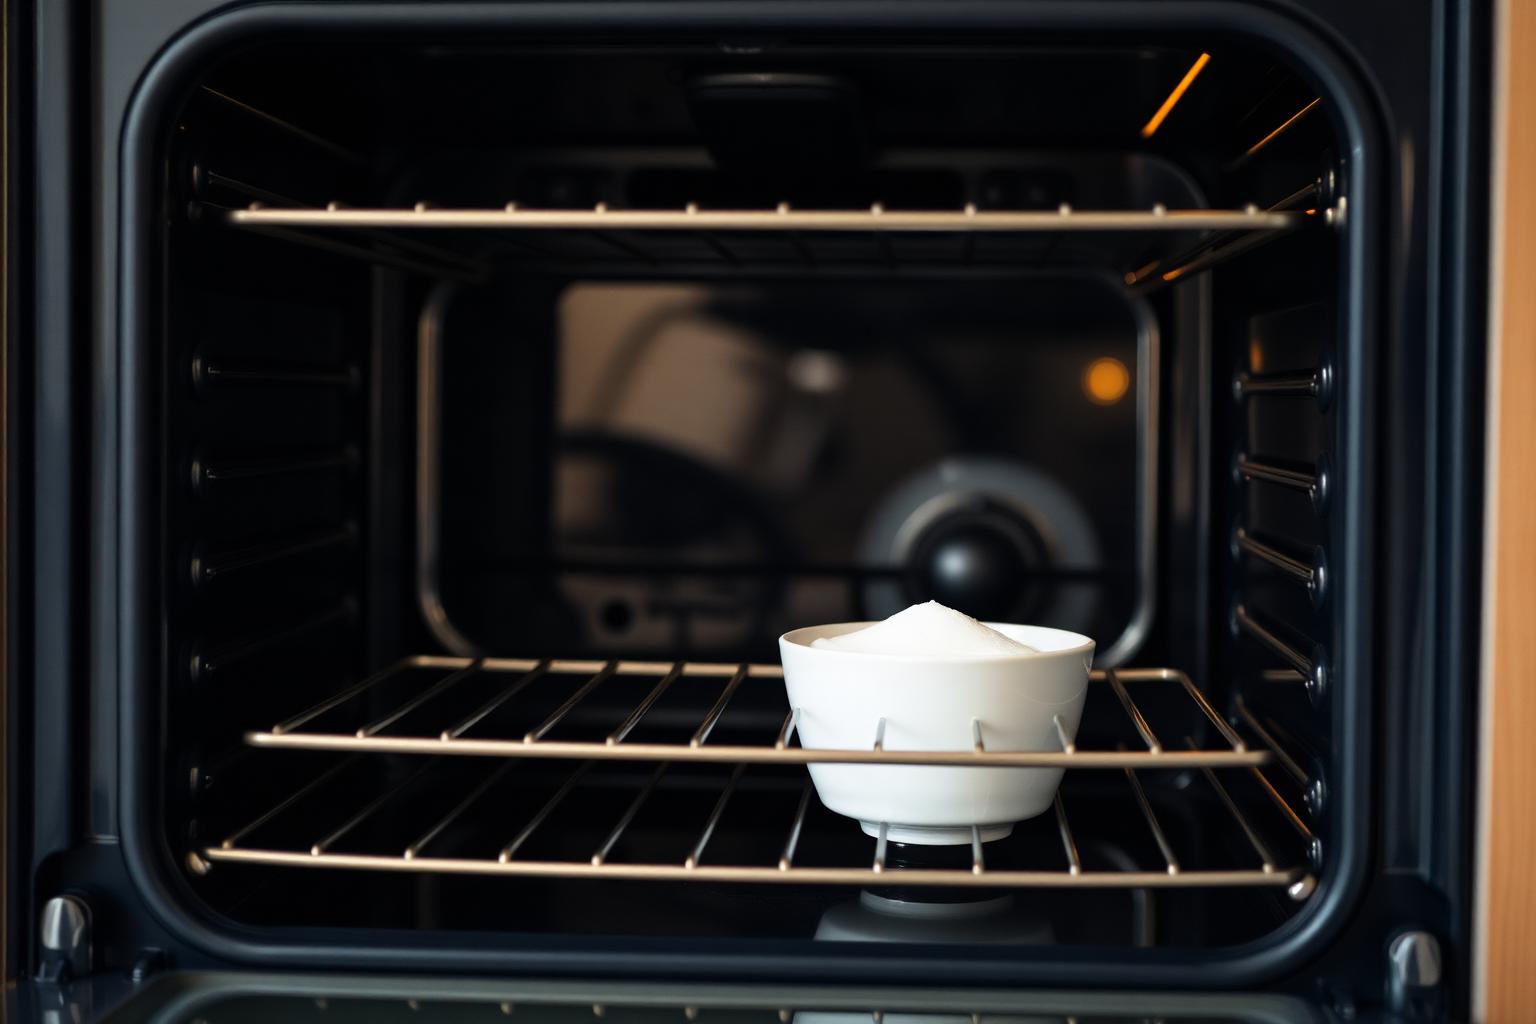
The Baking Soda Trick
Once everything is back inside, place a small open container of baking soda on a back shelf. Replace it every three months. It absorbs ambient odors and keeps the fridge smelling neutral, which matters more than it sounds. Onions, garlic, and leftovers all give off lingering smells, and a fridge that smells fresh genuinely tastes fresher when you reach for anything inside it.
Building the Habit
A full cleaning is a once-a-quarter job. A quick maintenance pass — wipe the interior shelves, check the gasket, toss anything expired — is a five-minute task once a month. Pair it with another monthly habit like paying a bill or doing laundry, and it stops feeling like a chore.
Print the steps and stick the list inside a cabinet door. The hardest part of refrigerator cleaning is remembering everything that needs to be done. With the list in front of you, the project becomes a routine.
Final Thoughts
A clean refrigerator changes how you feel about your kitchen. It cooks better, eats better, and runs longer. The whole job takes an afternoon, costs almost nothing, and pays you back every time you open the door. There is no better return on two hours of work anywhere else in the house.
Filed in Cleaning · Kitchen Cleaning
More articles